
Sweet as Candy DIY Lollipop Felt Ornaments
Posted August 10, 2017 in DIY (Crafts) by Dianne Weller
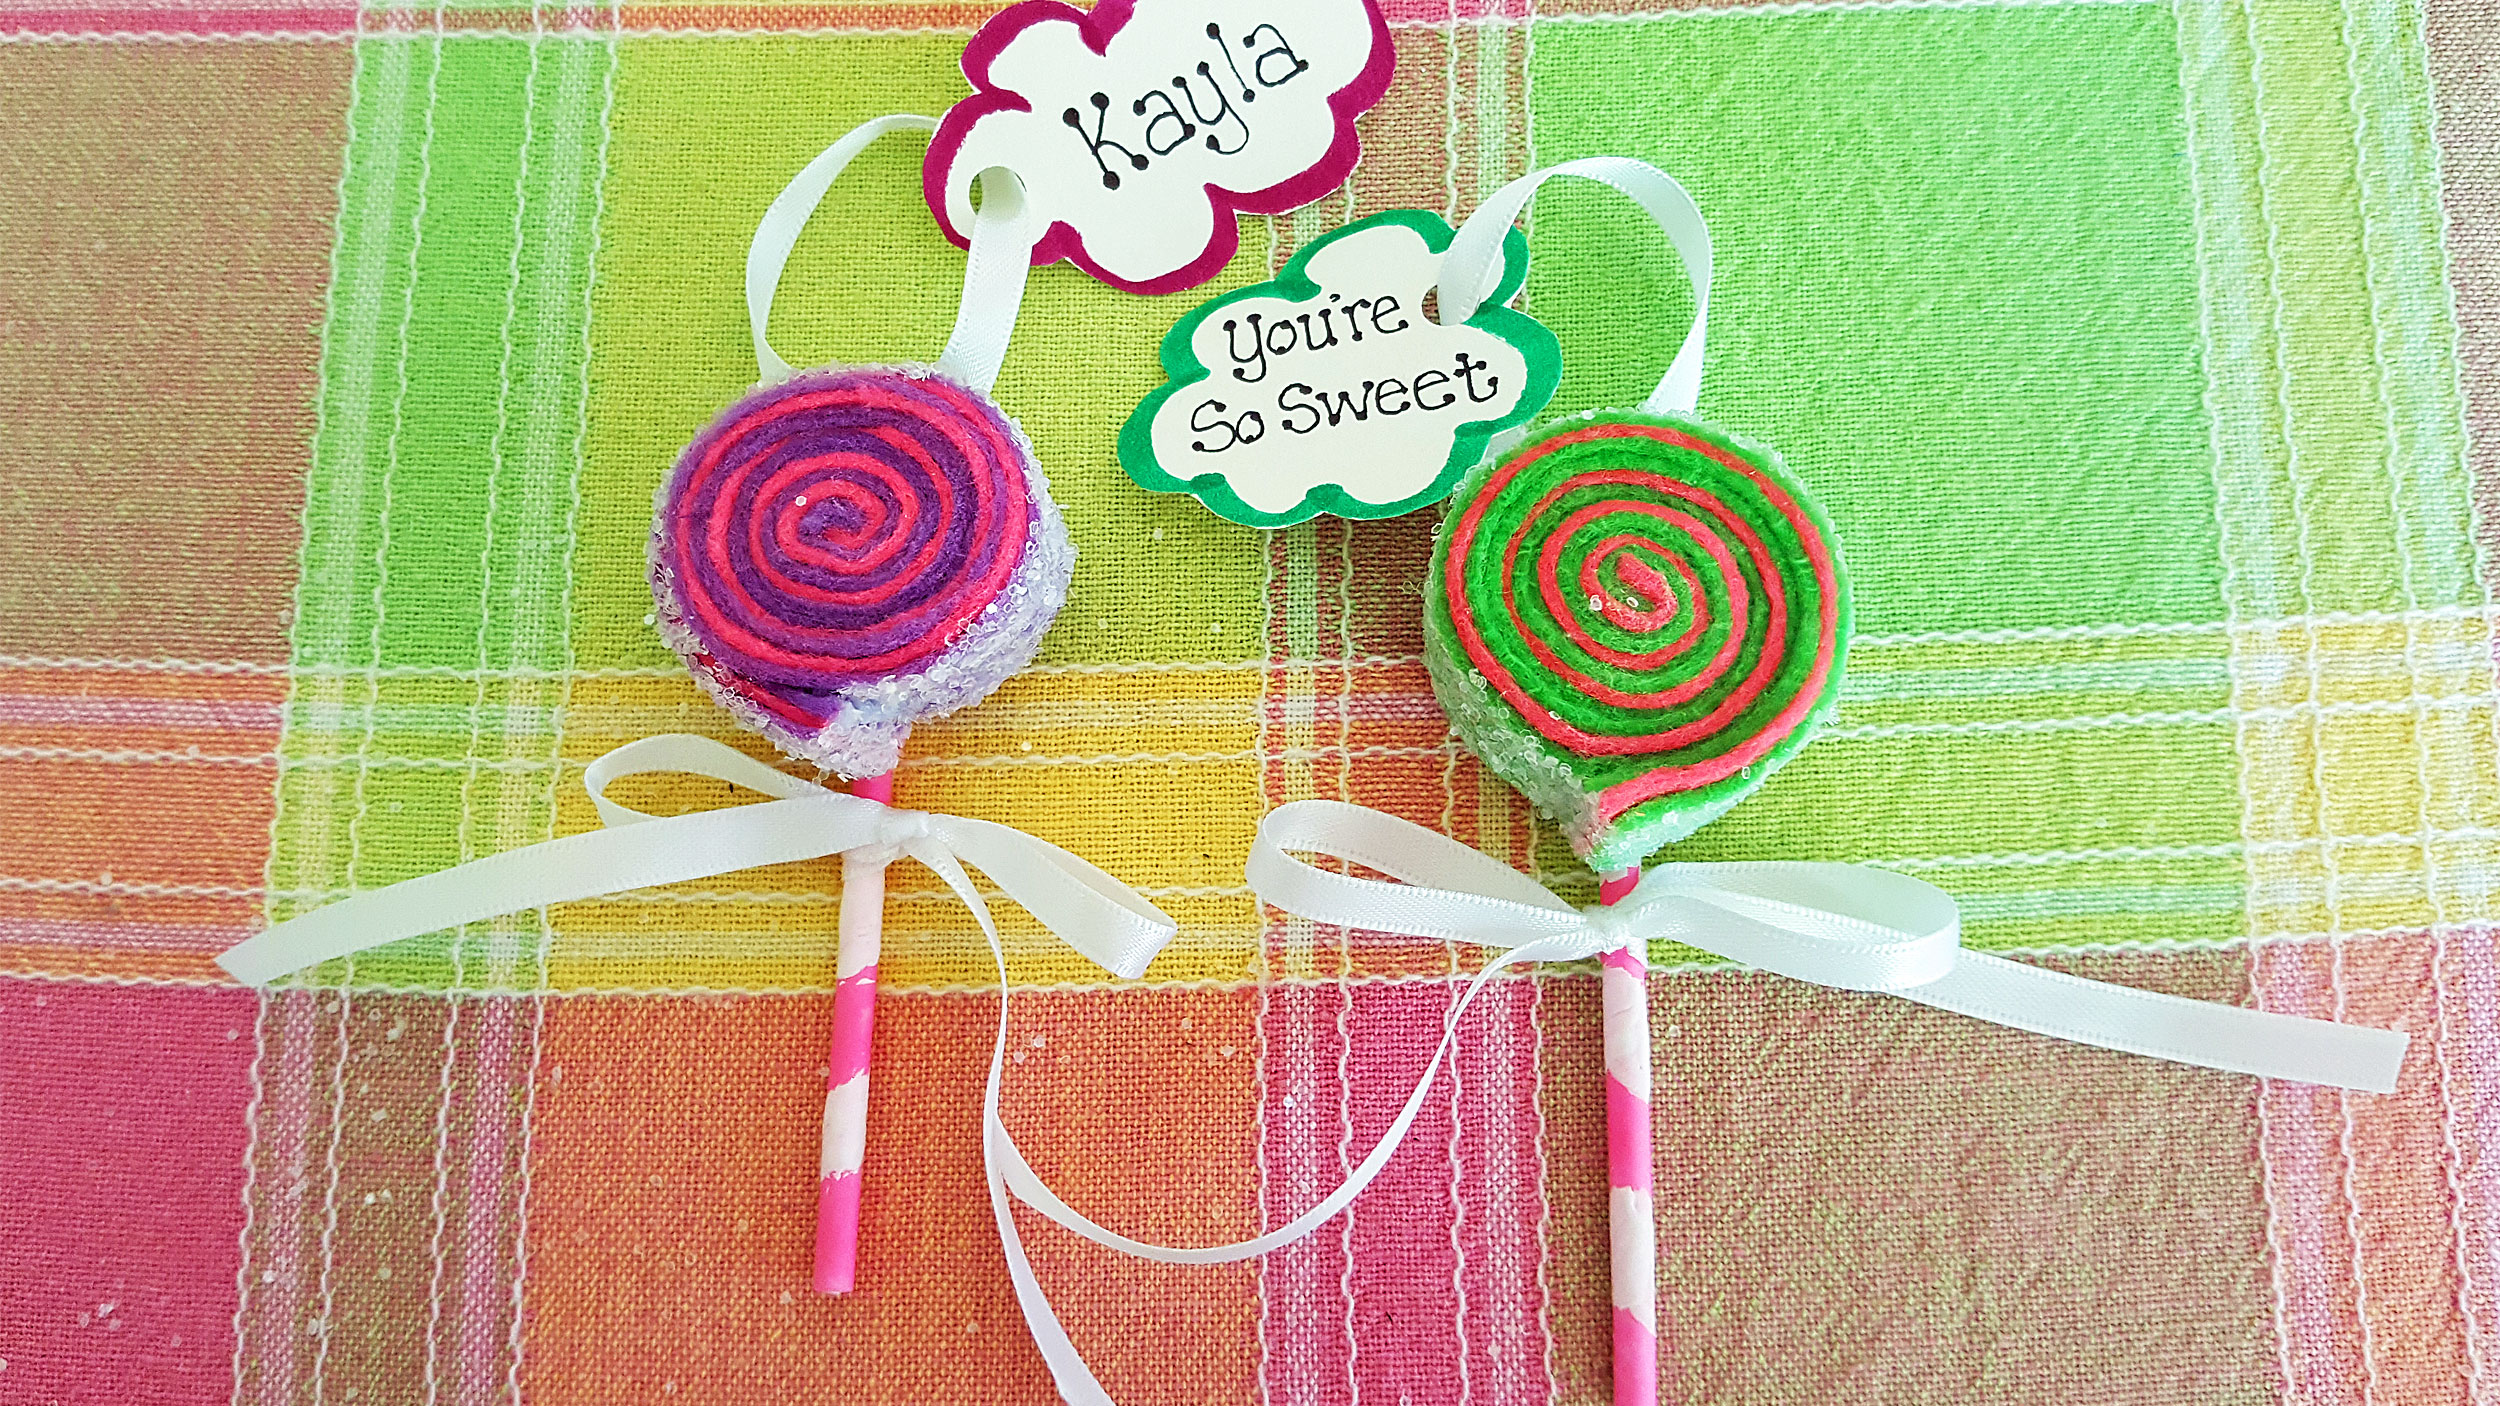
Felt Ornaments are some of the best DIY projects that kids can do in no time! They are easy to make and don’t require a lot of skill. With only a few supplies and a few easy steps, you can make these adorable glittery lollipop ornaments that look good enough to lick! Pick your colors to match your favorite flavors, whether you want peppermint, cotton candy, or watermelon – you name it.
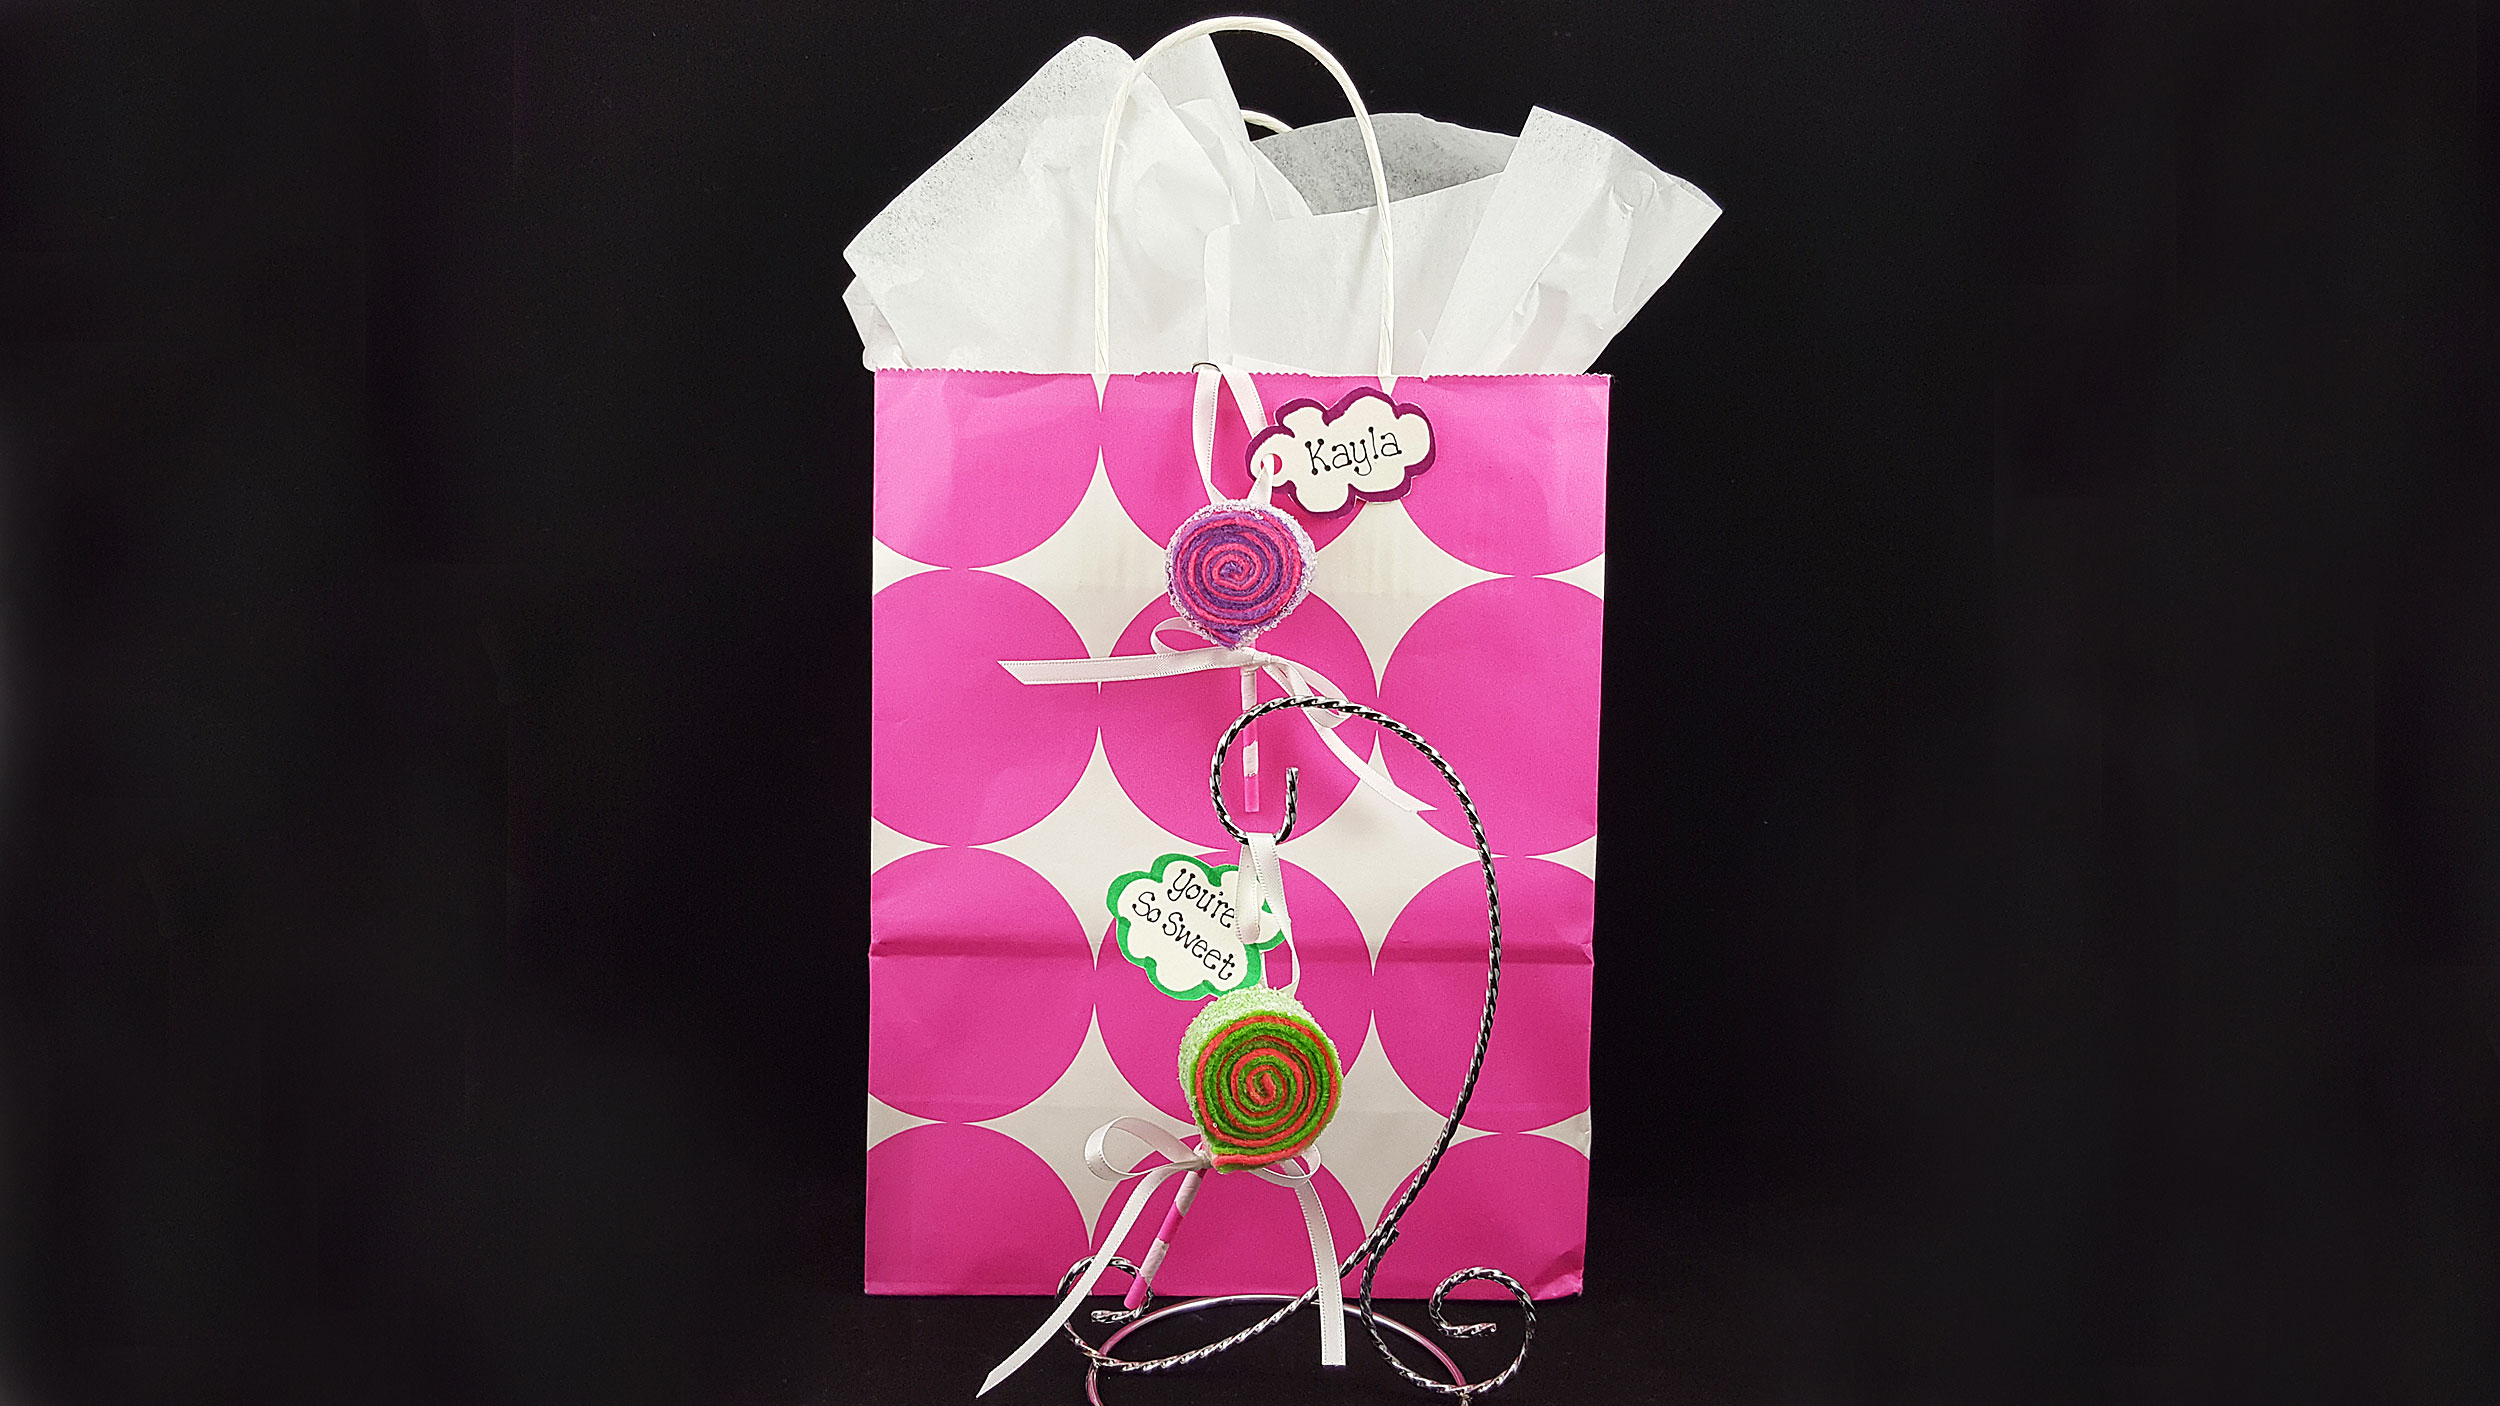
Brightly colored fake lollipop ornaments are a fun way to add a little sugar to your tree, or you can tie them to the top of a gift for someone sweet any time of the year! They are fantastic for birthdays, and that’s how I’m gifting my finished project! They are quick, fun and you can get creative with the colors, making your lollipop felt ornaments unique and special.
Step-By-Step Instructions for DIY Felt Lollipop Decorations
Felt ornaments are perfect for hanging on anything, because they are lightweight, brightly colored and have a homemade look that shows you care. You can personalize the lollipop ornaments with a tag to make the gift personal and meaningful.
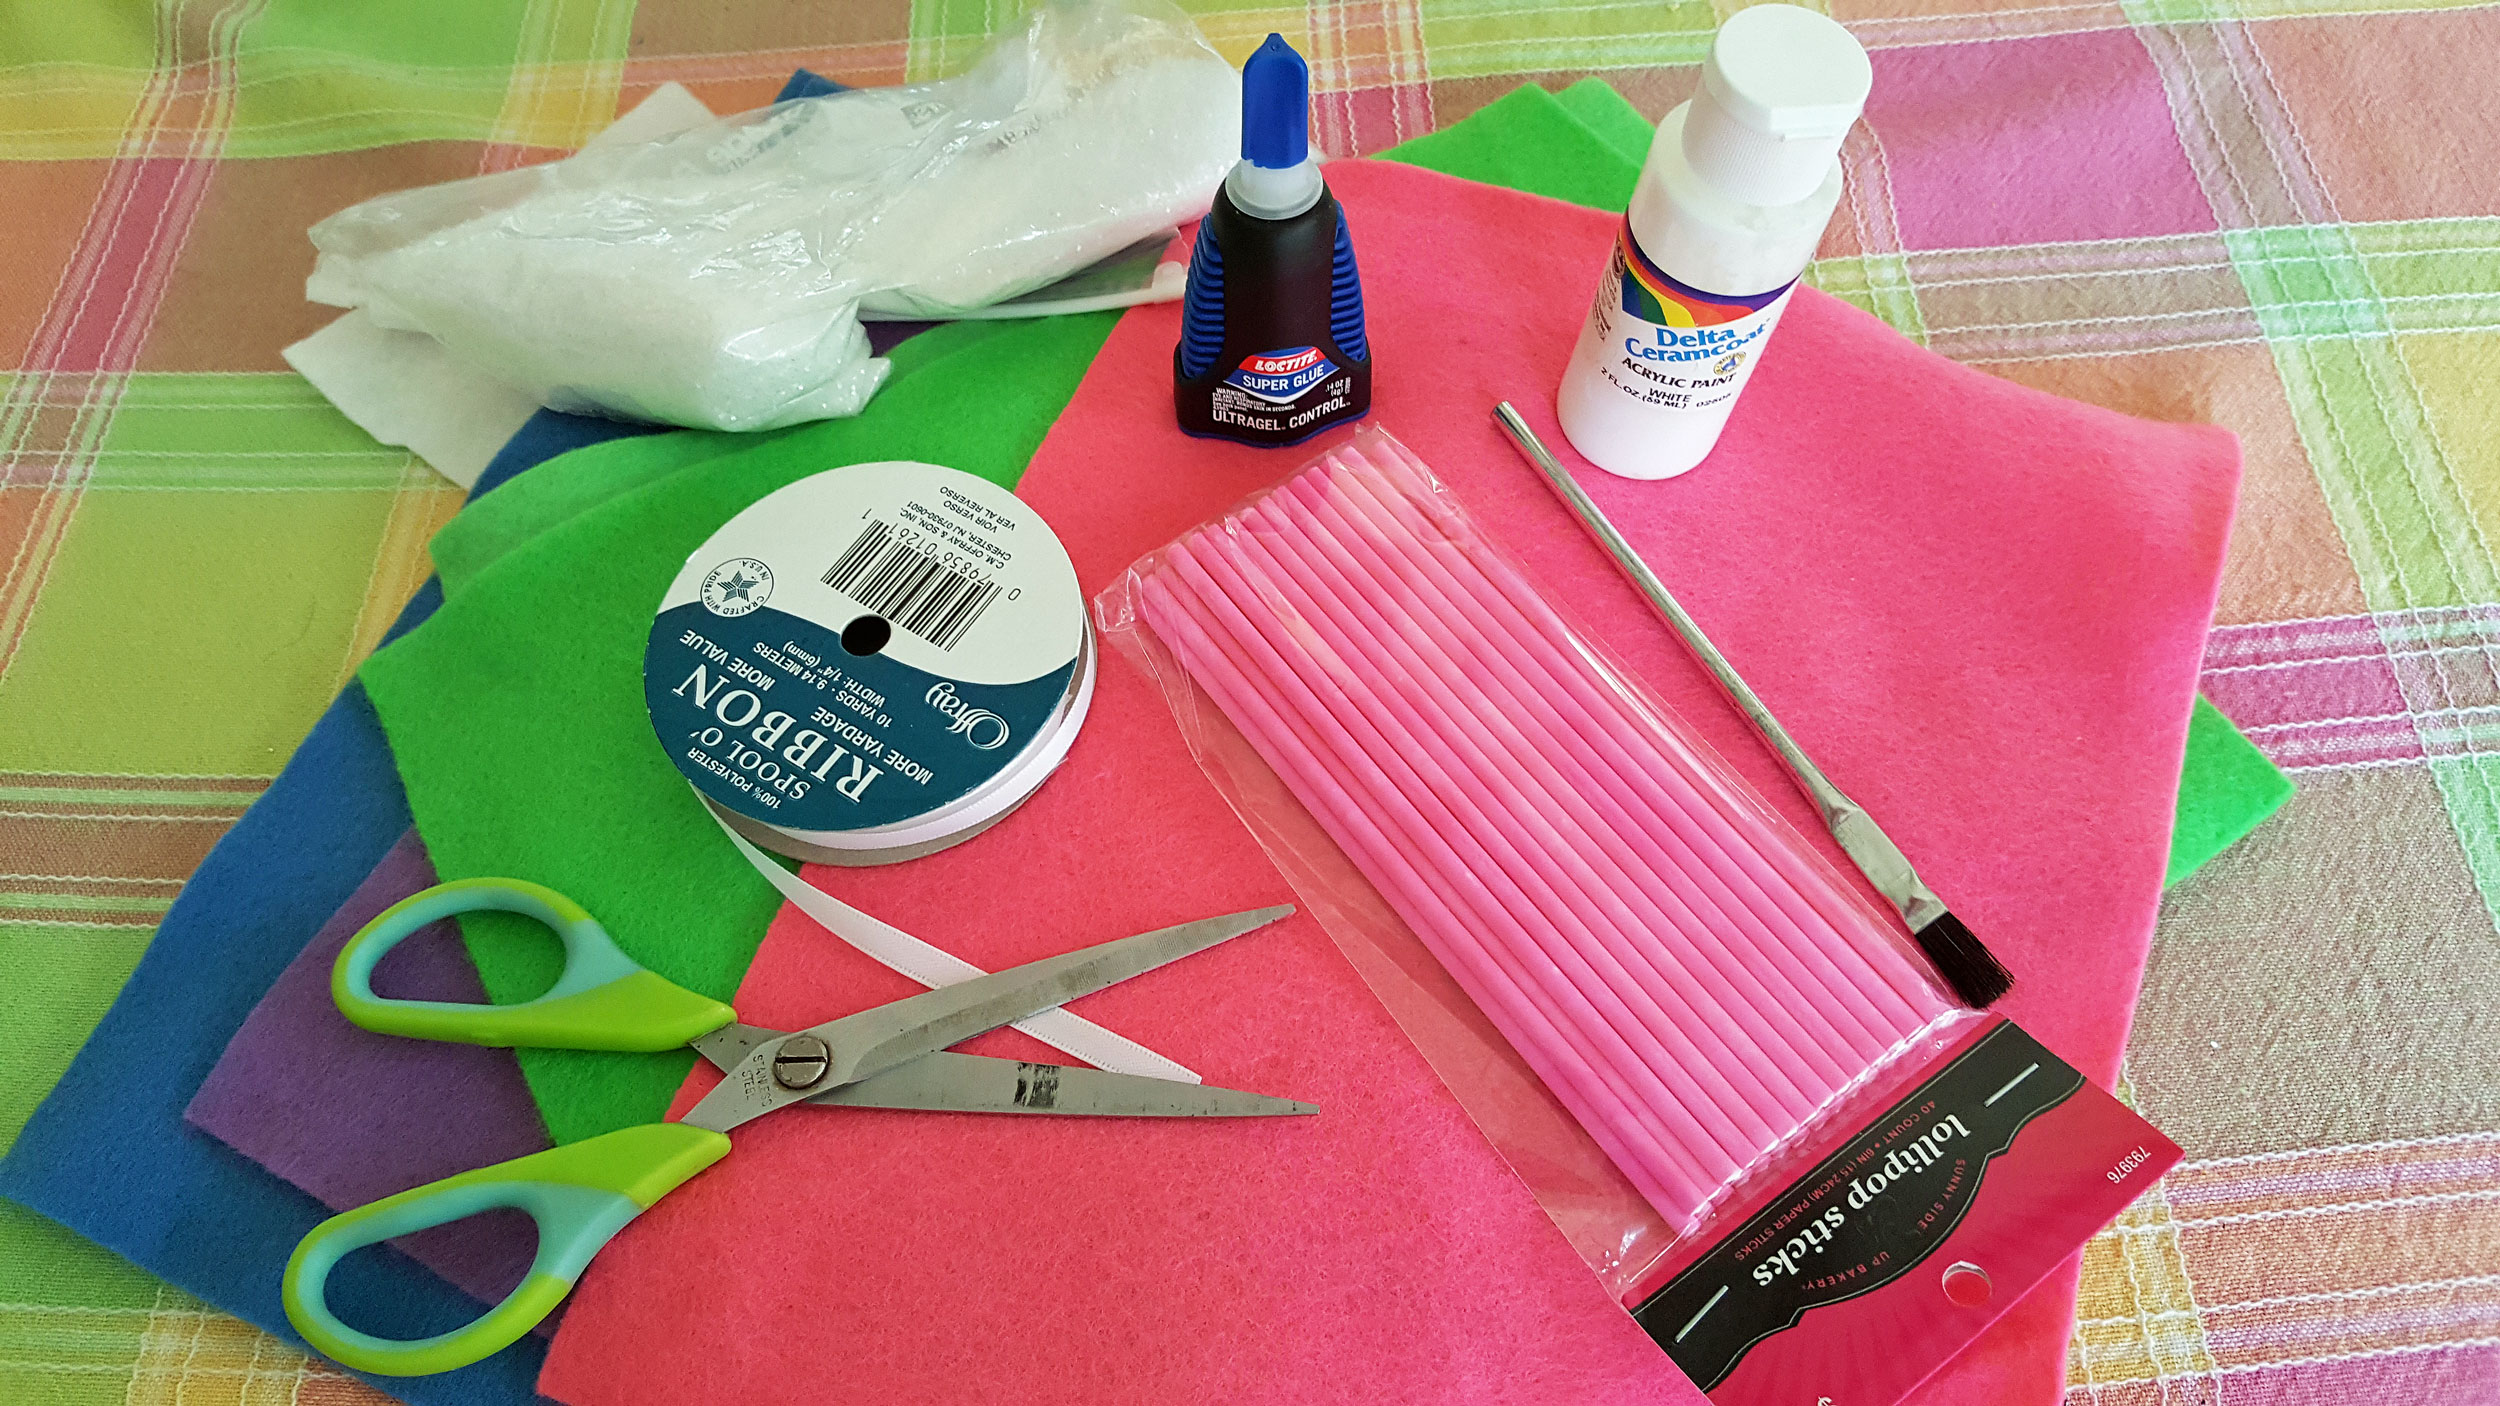
Supplies for Lollipop Ornaments:
- Colorful pieces of felt
- Scissors
- Glue
- Glitter (white or iridescent)
- Lollipop sticks
- White paint
- Ribbon
- Gift tag (optional)
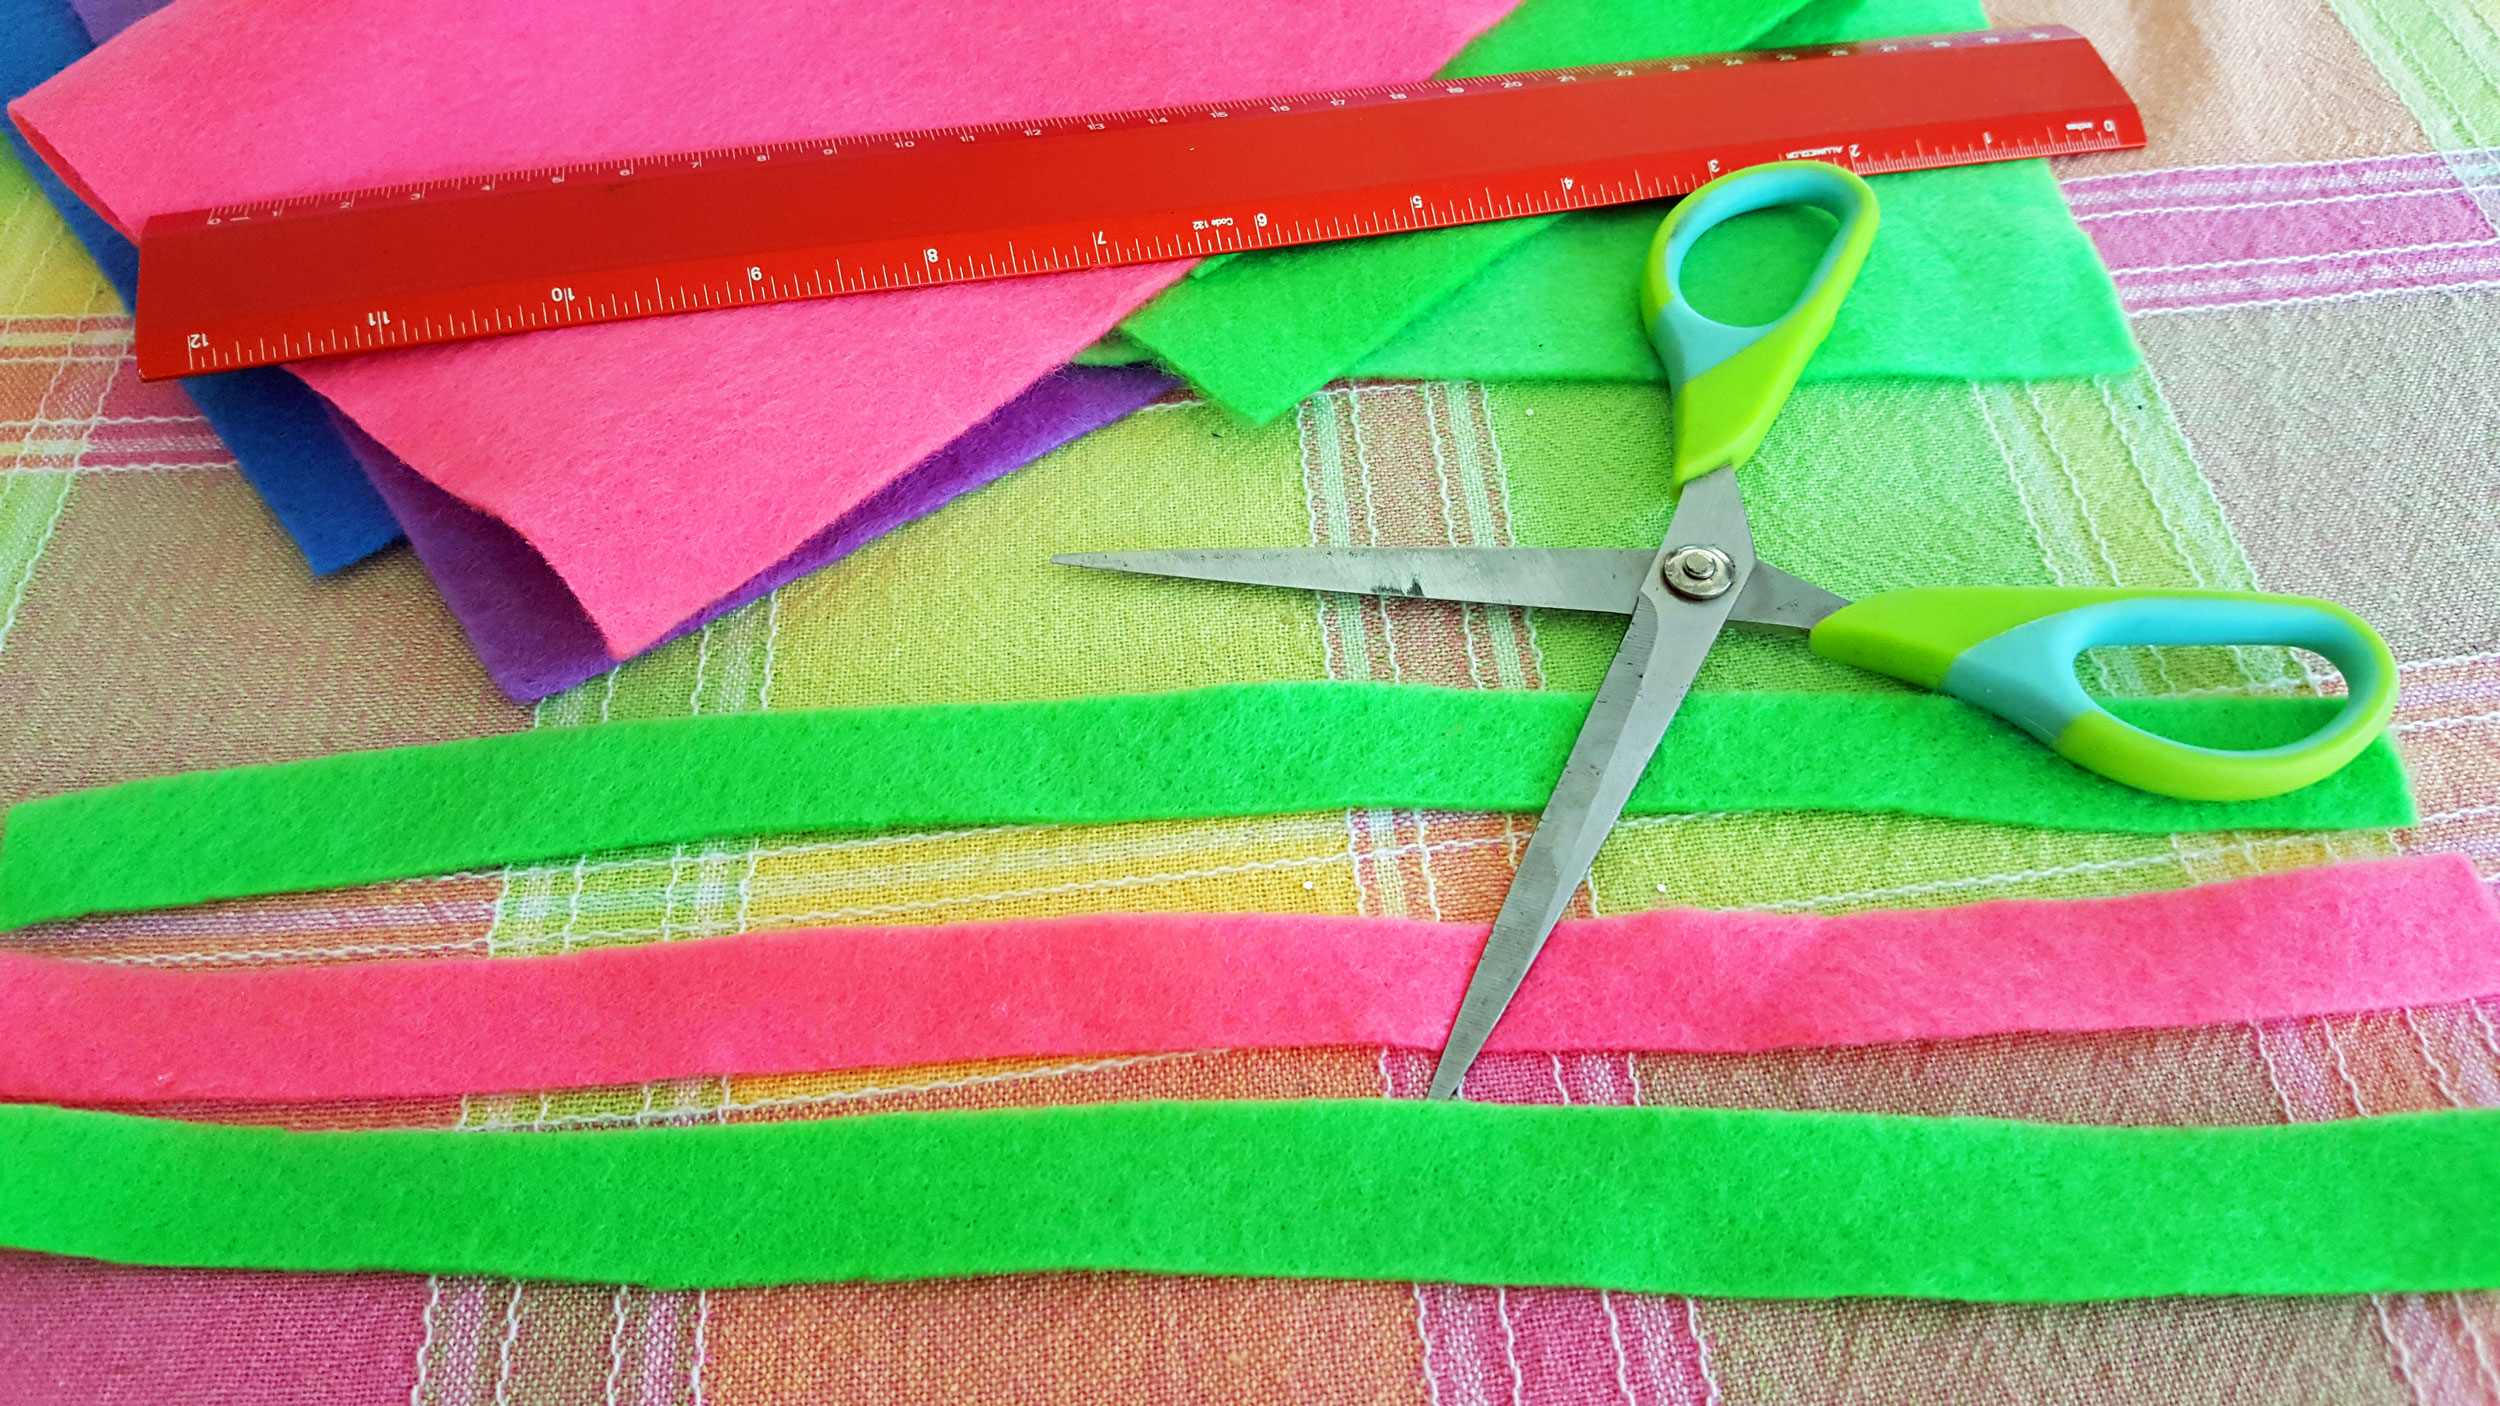
Step 1: Cut ½” x 12” strips of felt. You will need two of one color and one of another color for each lollipop.
Step 2: Stack the 3 strips of felt, sandwiching the single color strip in between the two matching strips. Then tightly roll the strips, keeping the ends flush so that your lollipop looks flat and the felt isn’t bulging.
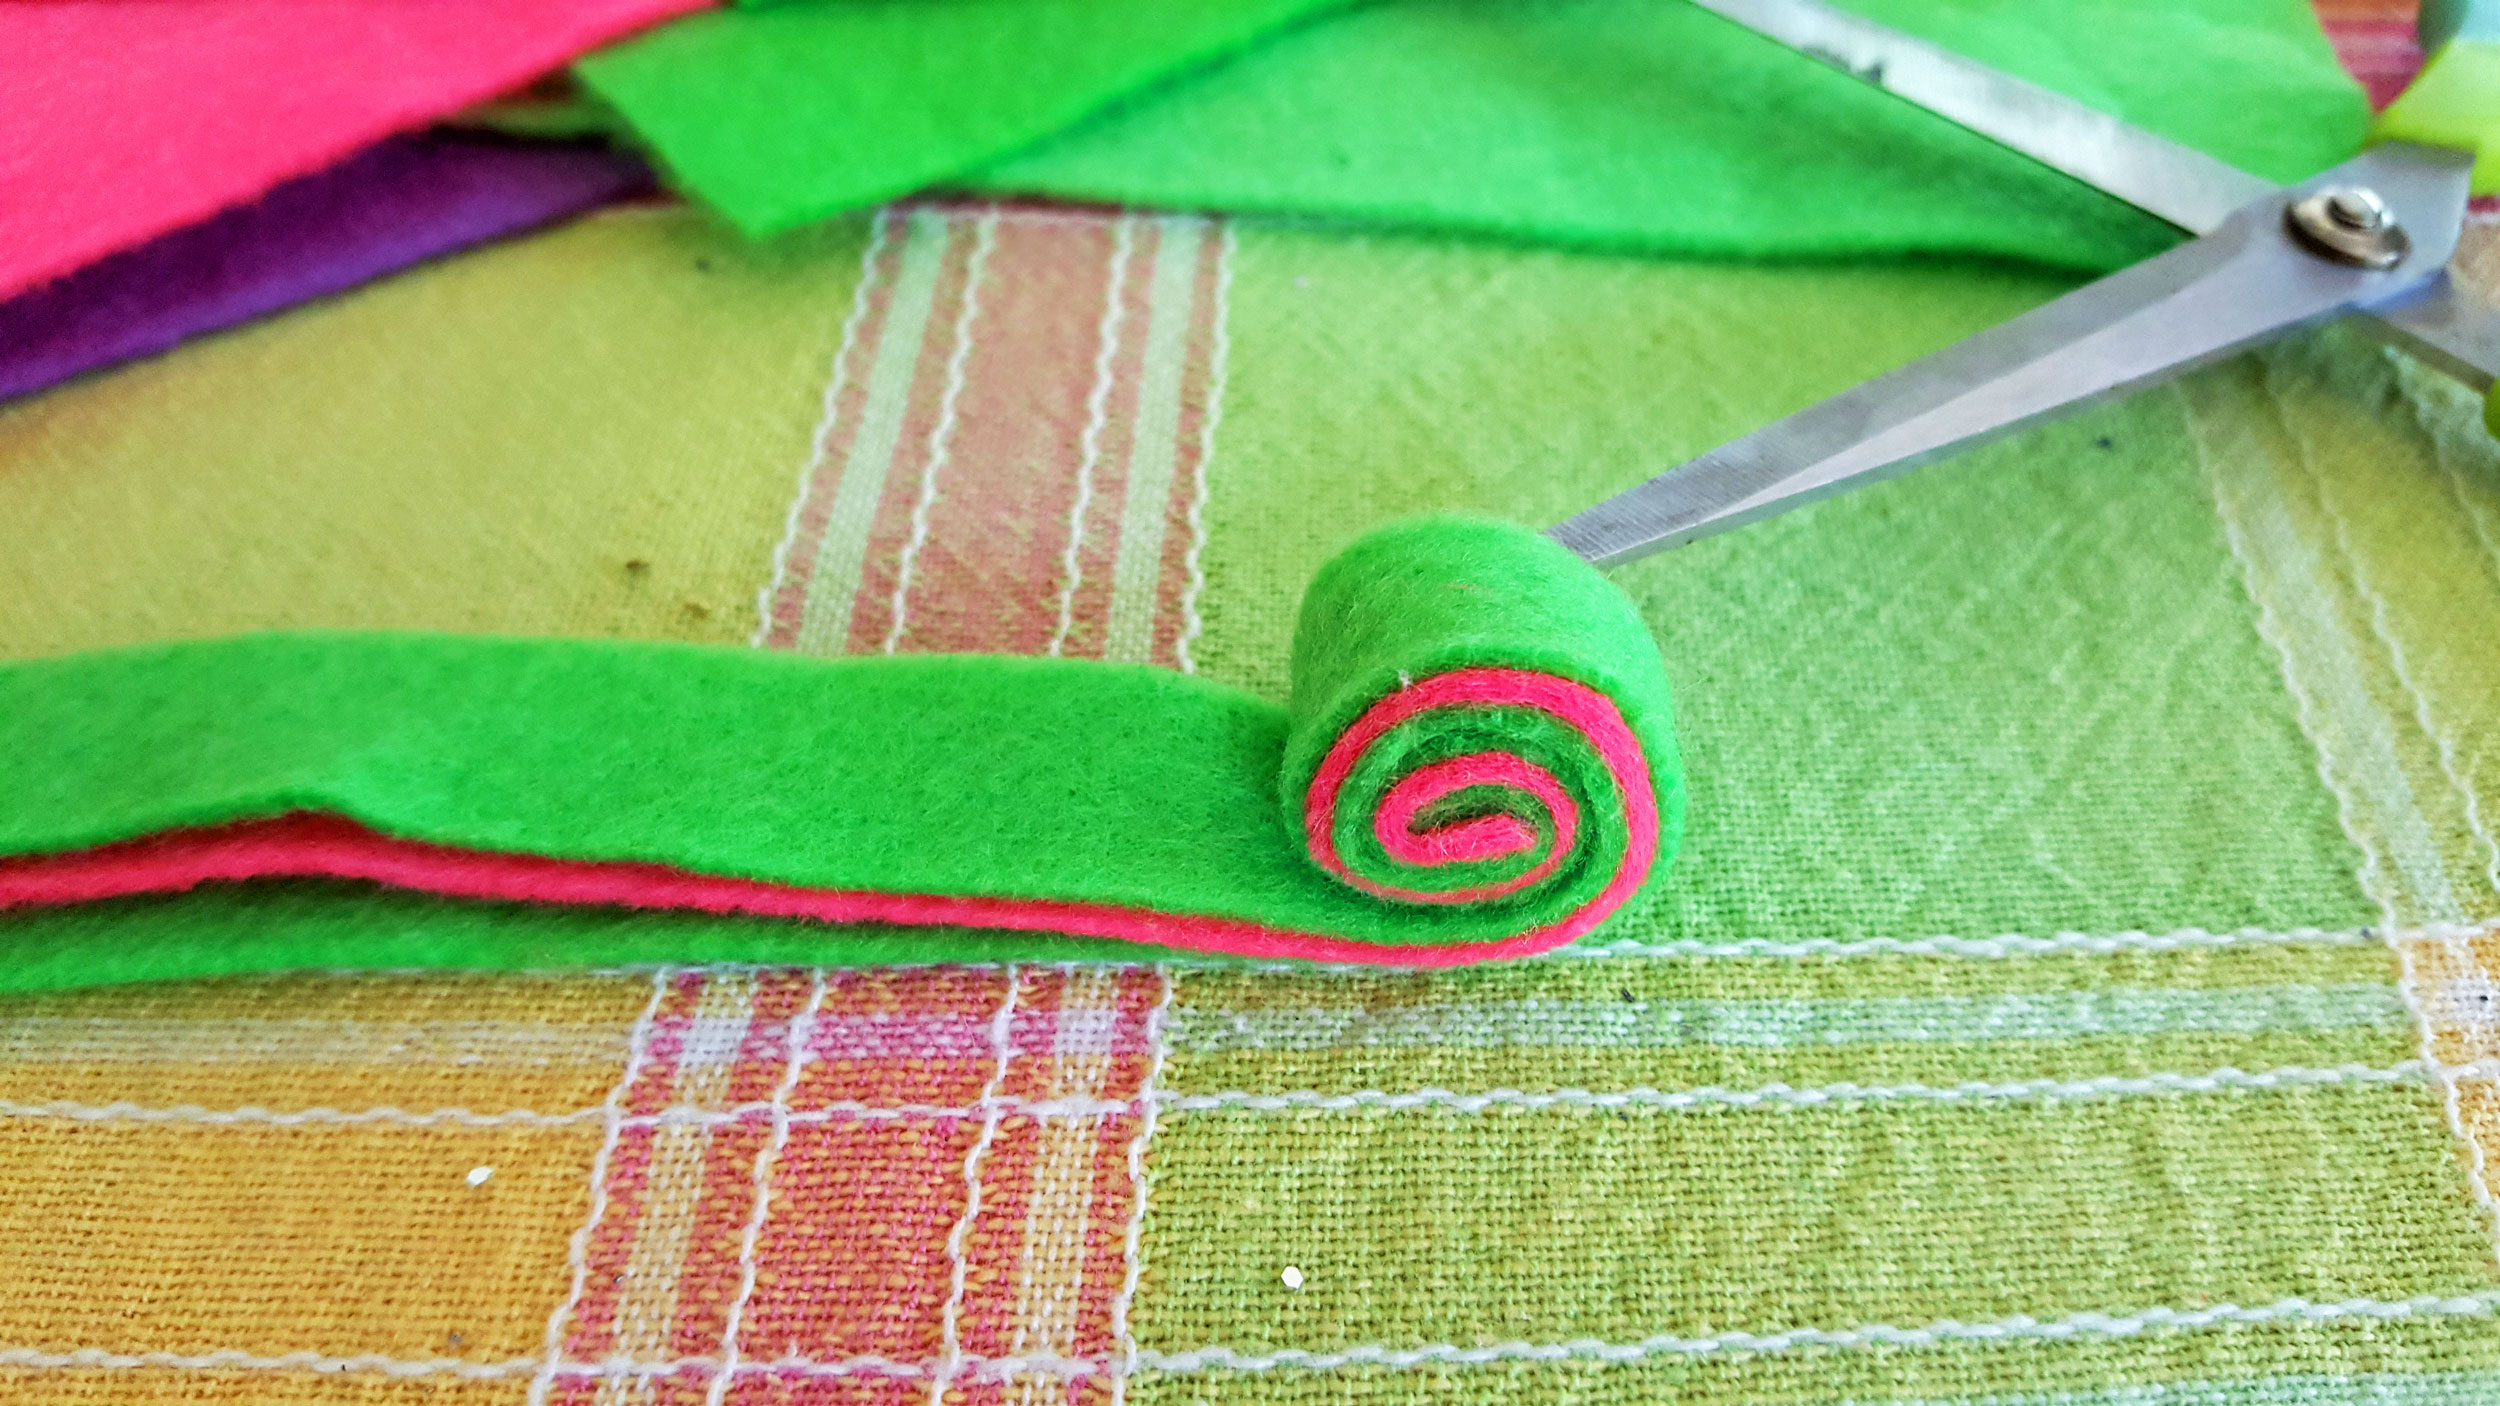
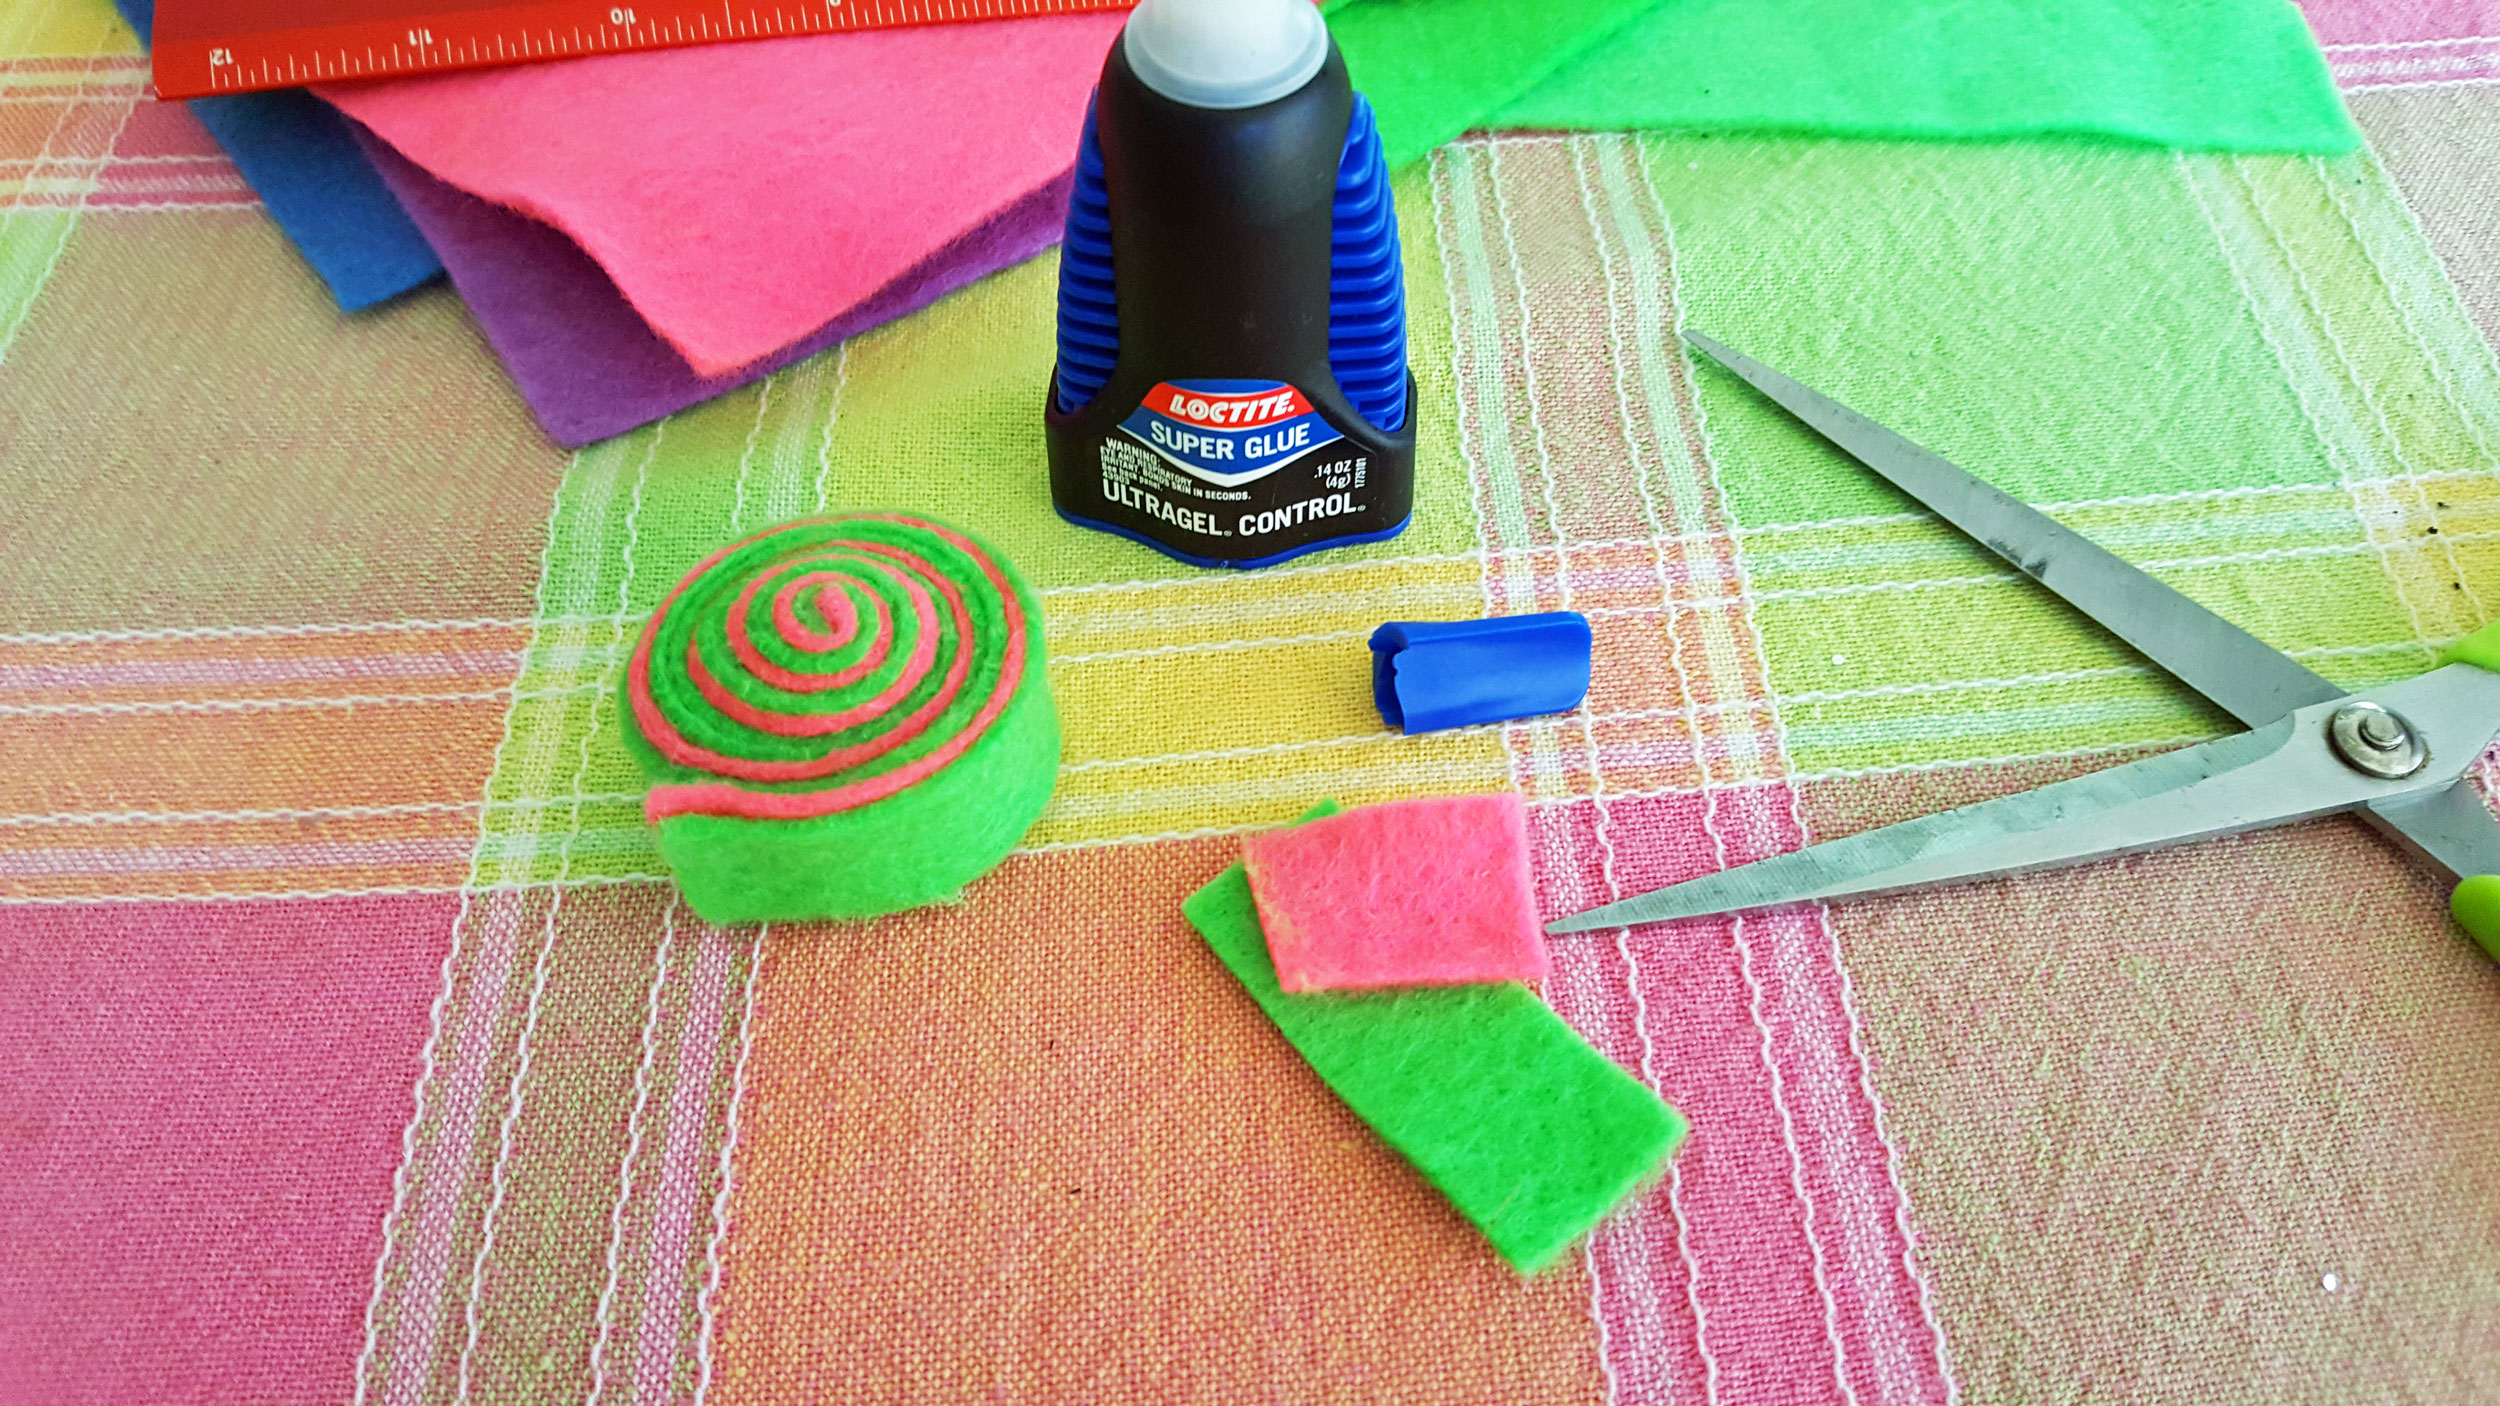
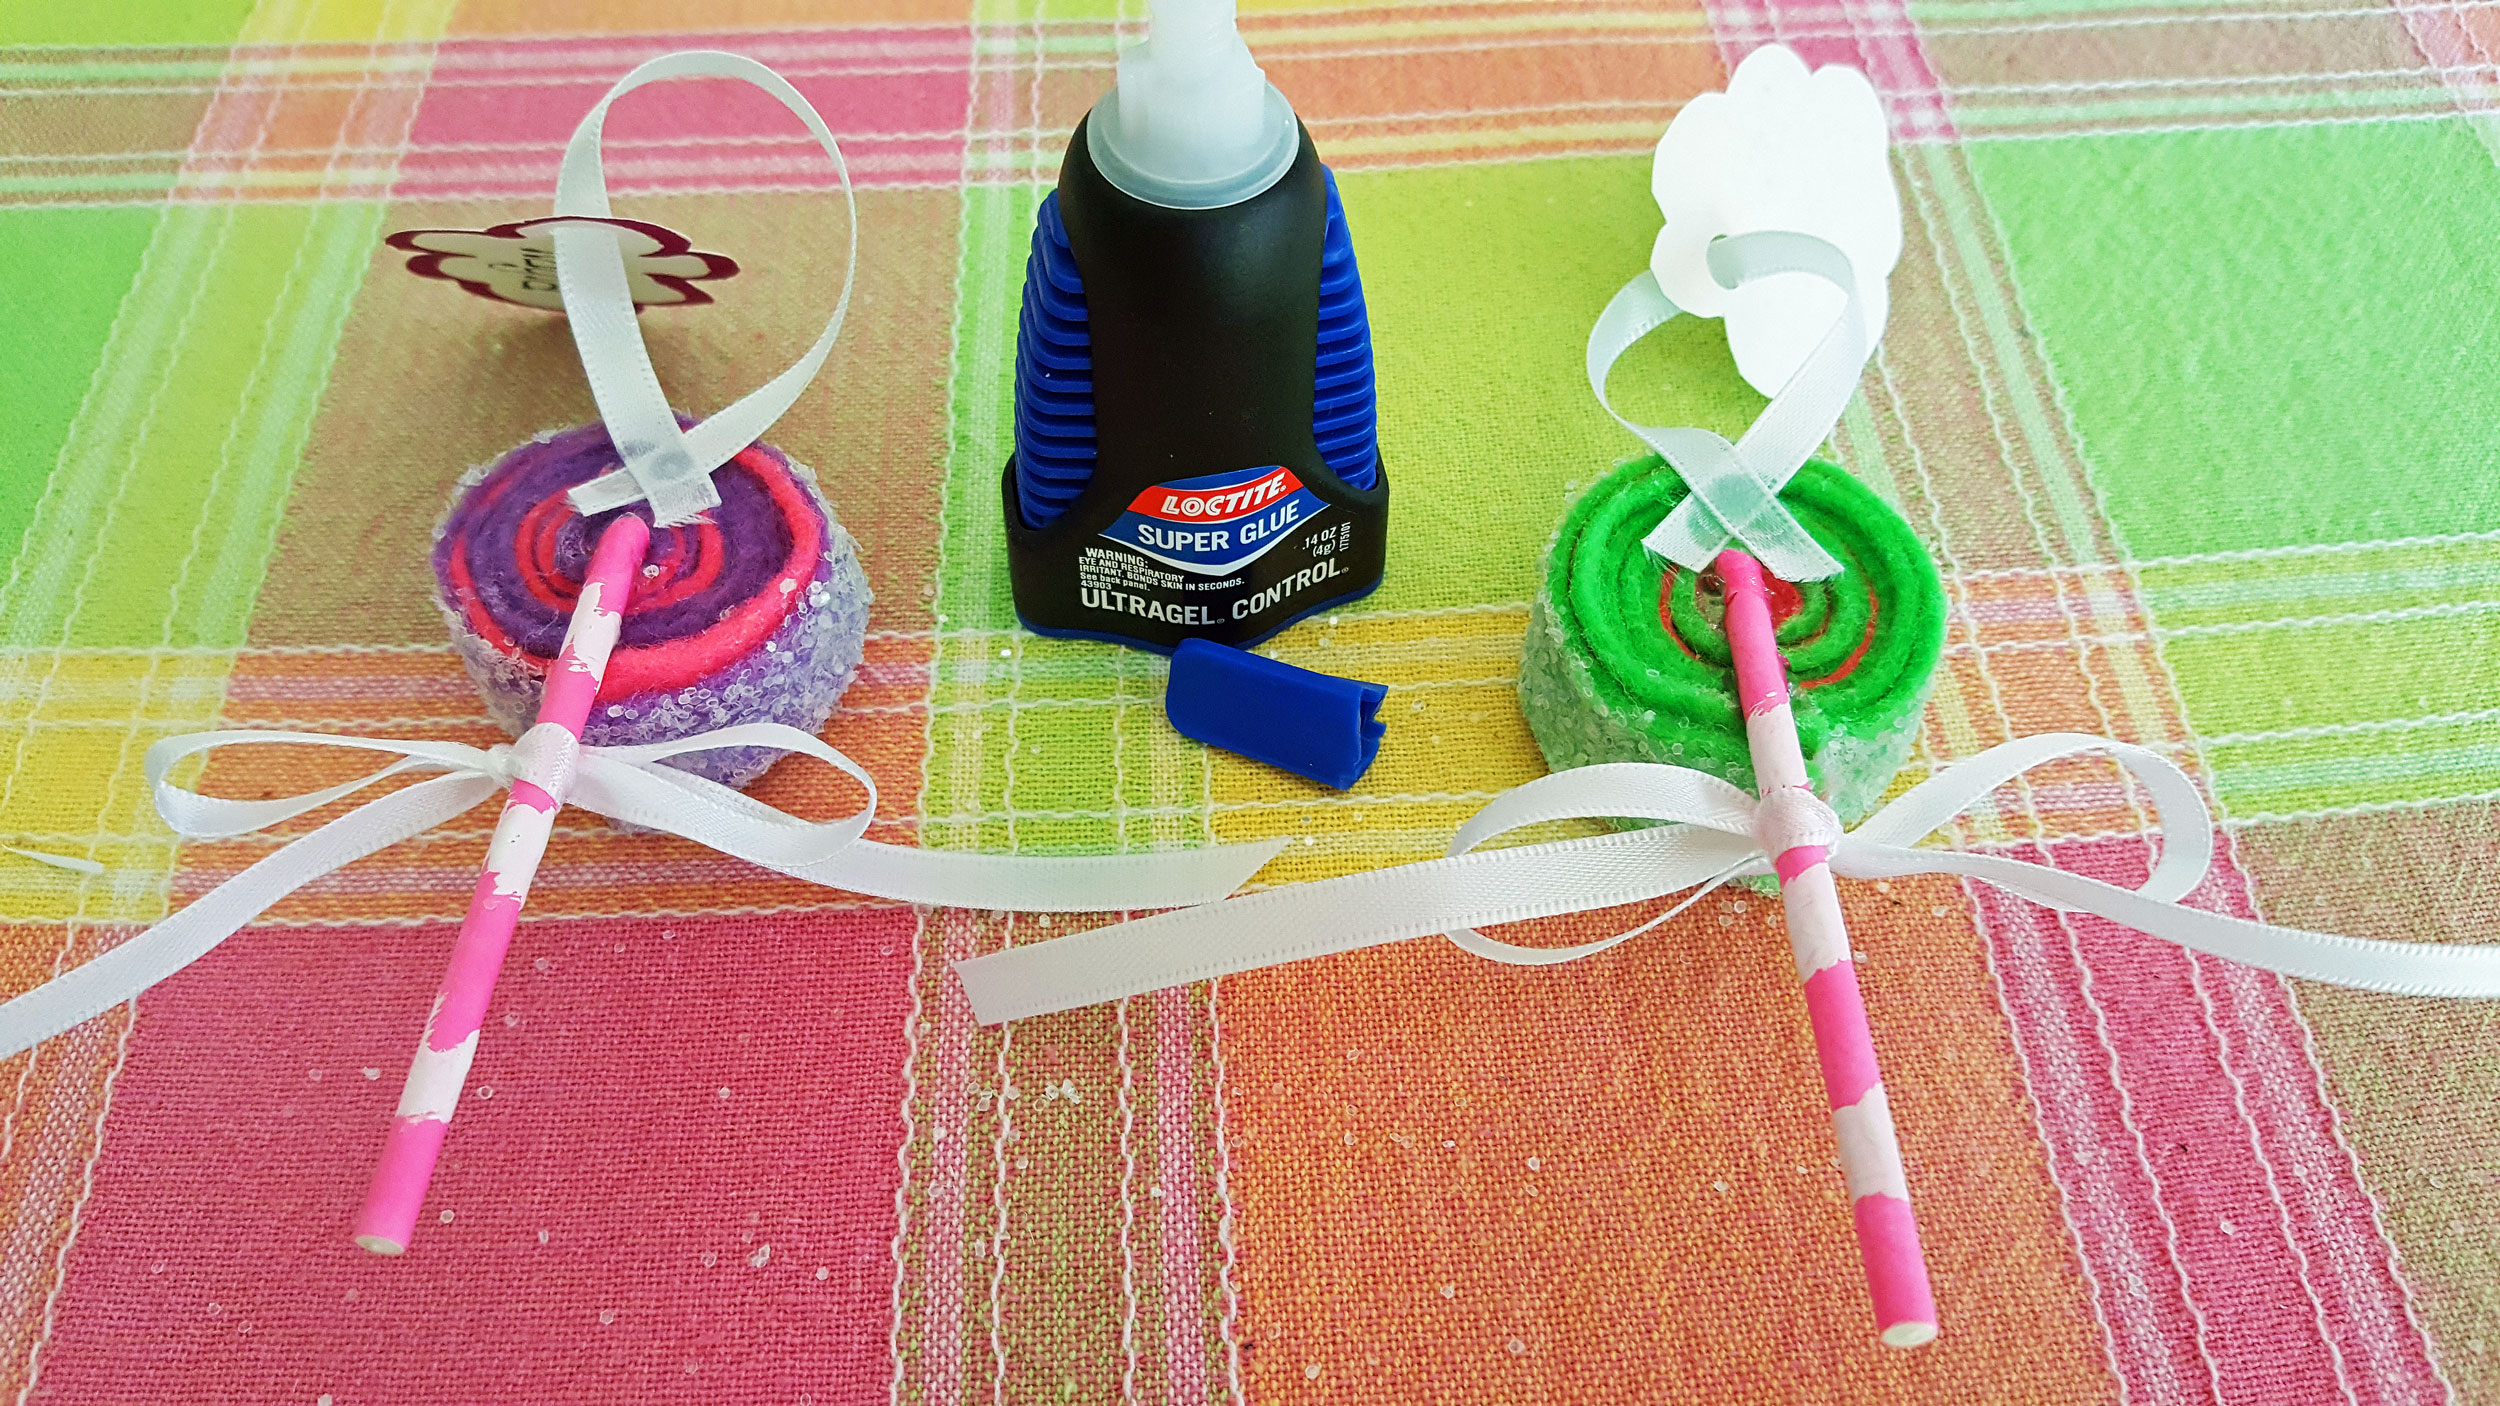
Step 3: Glue the ends down and trim off the excess so that it is even.
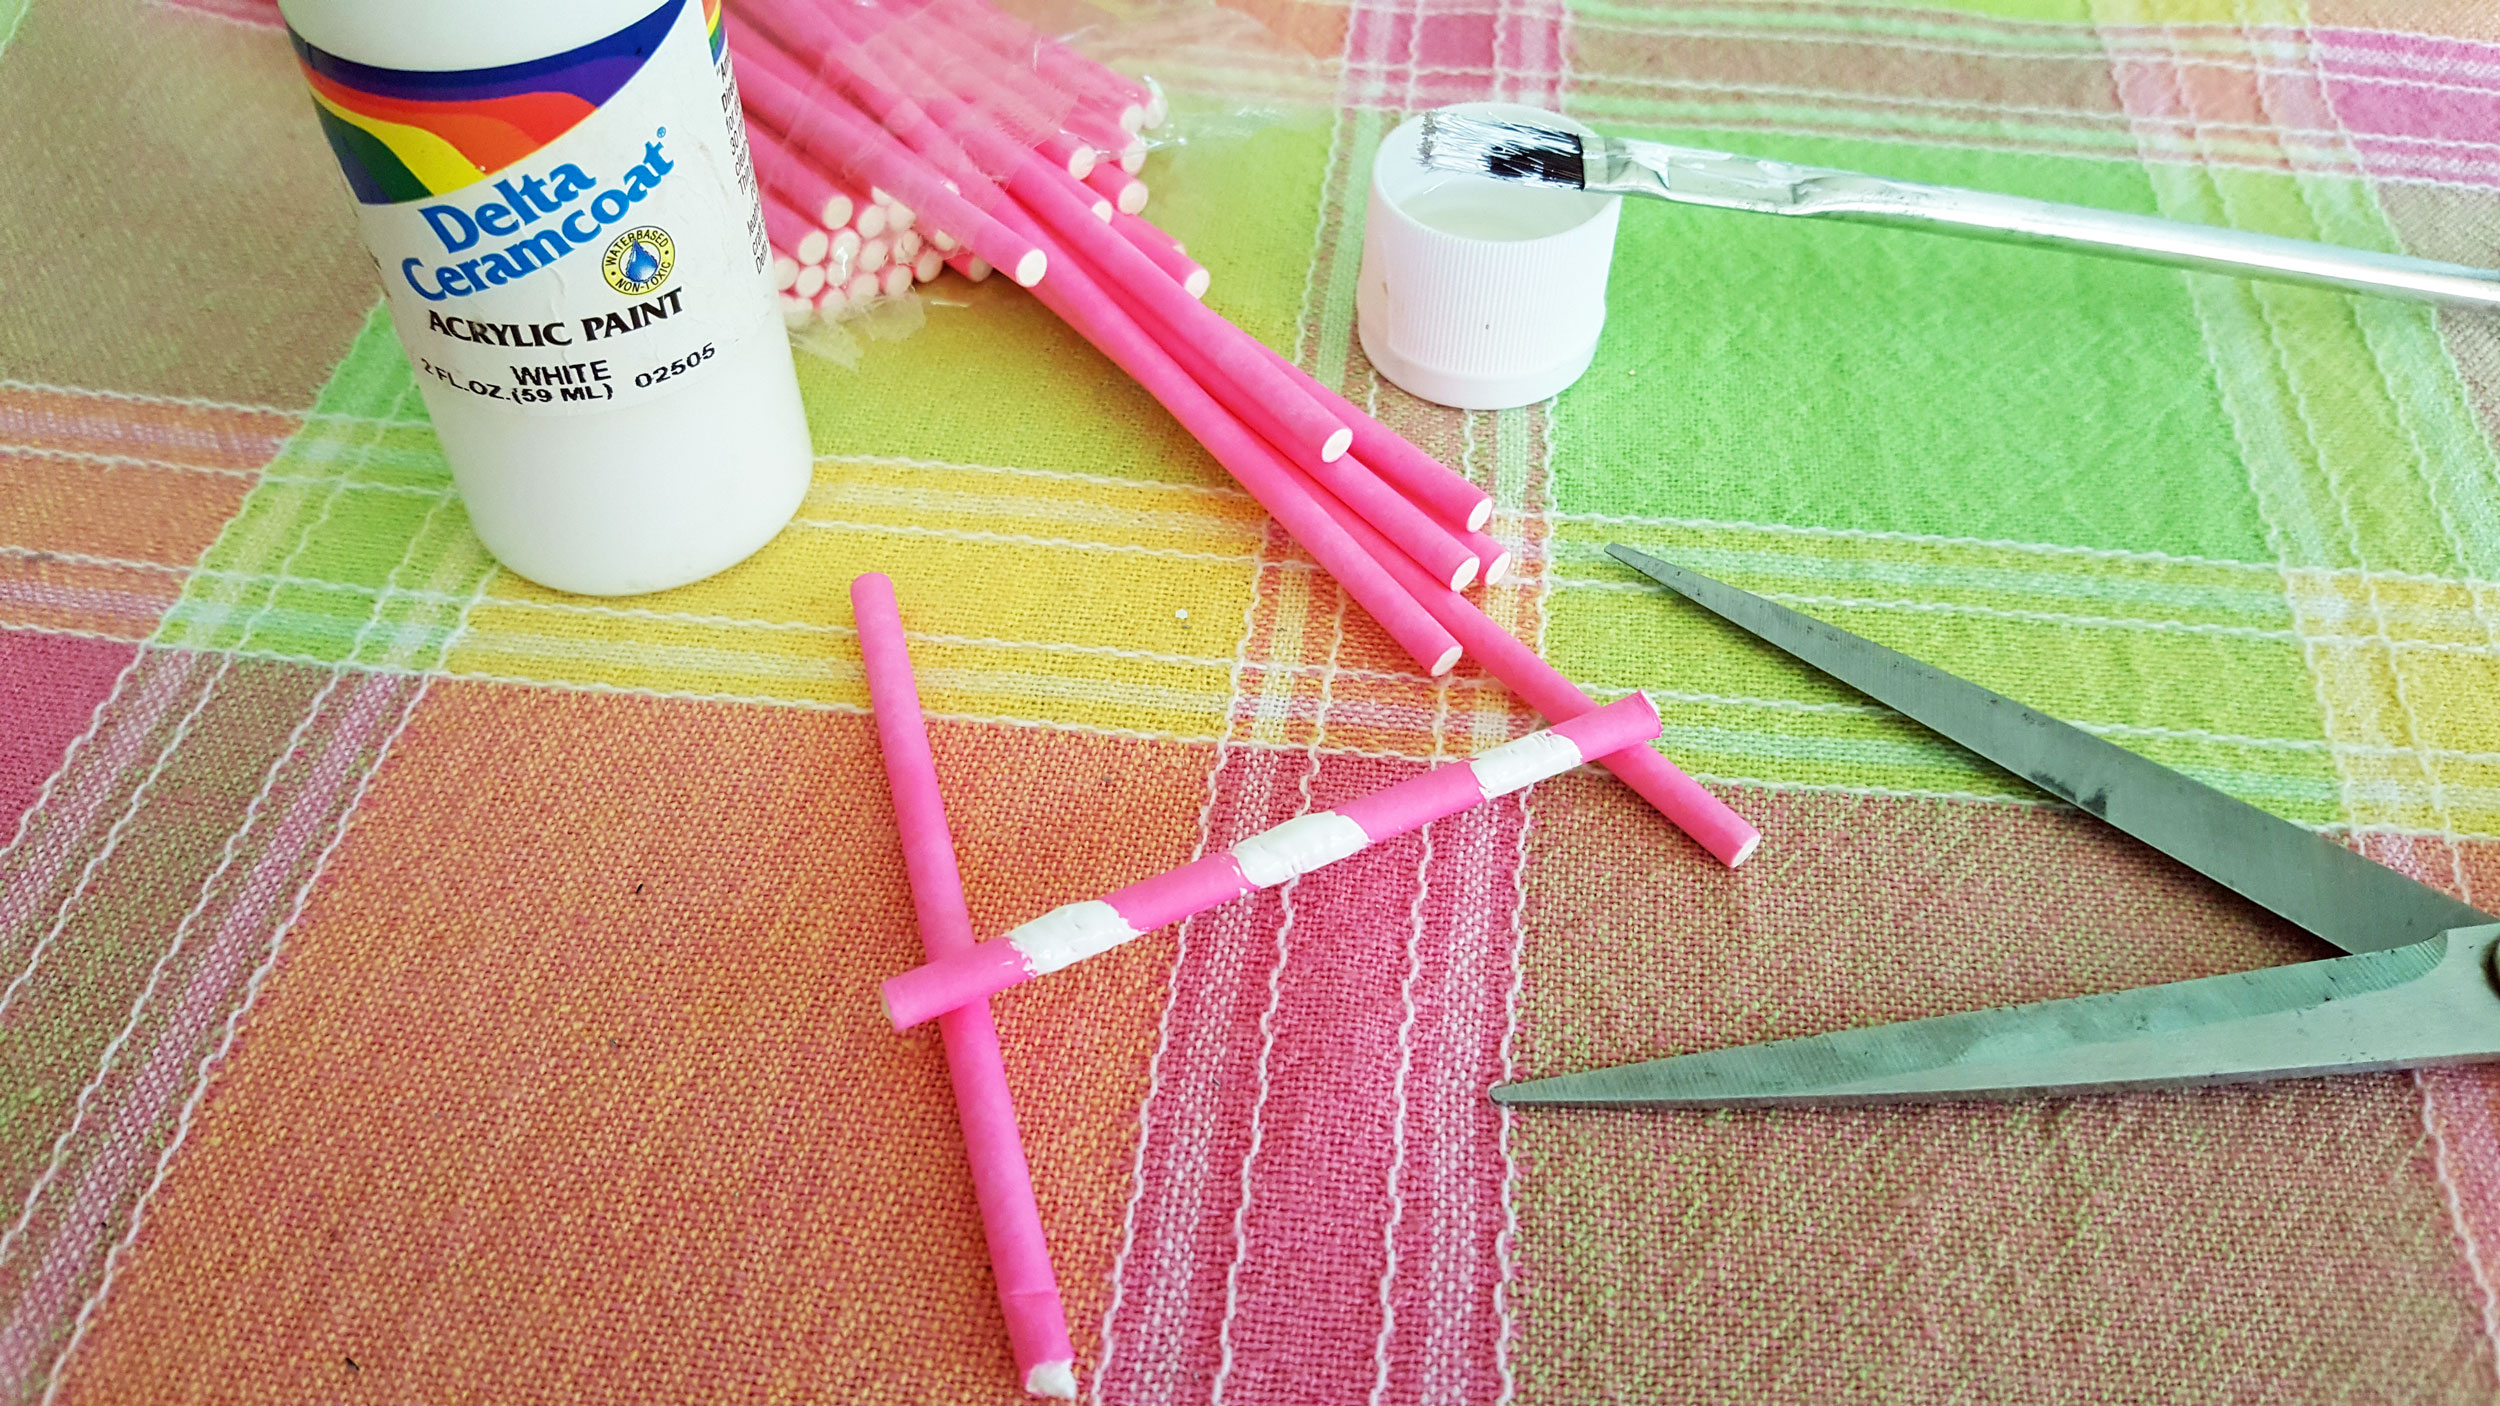
Step 4: Cut the lollipop sticks in half with the scissors or an exacto knife. Using the white paint, carefully paint stripes around the lollipop stick on an angle. Let them dry.
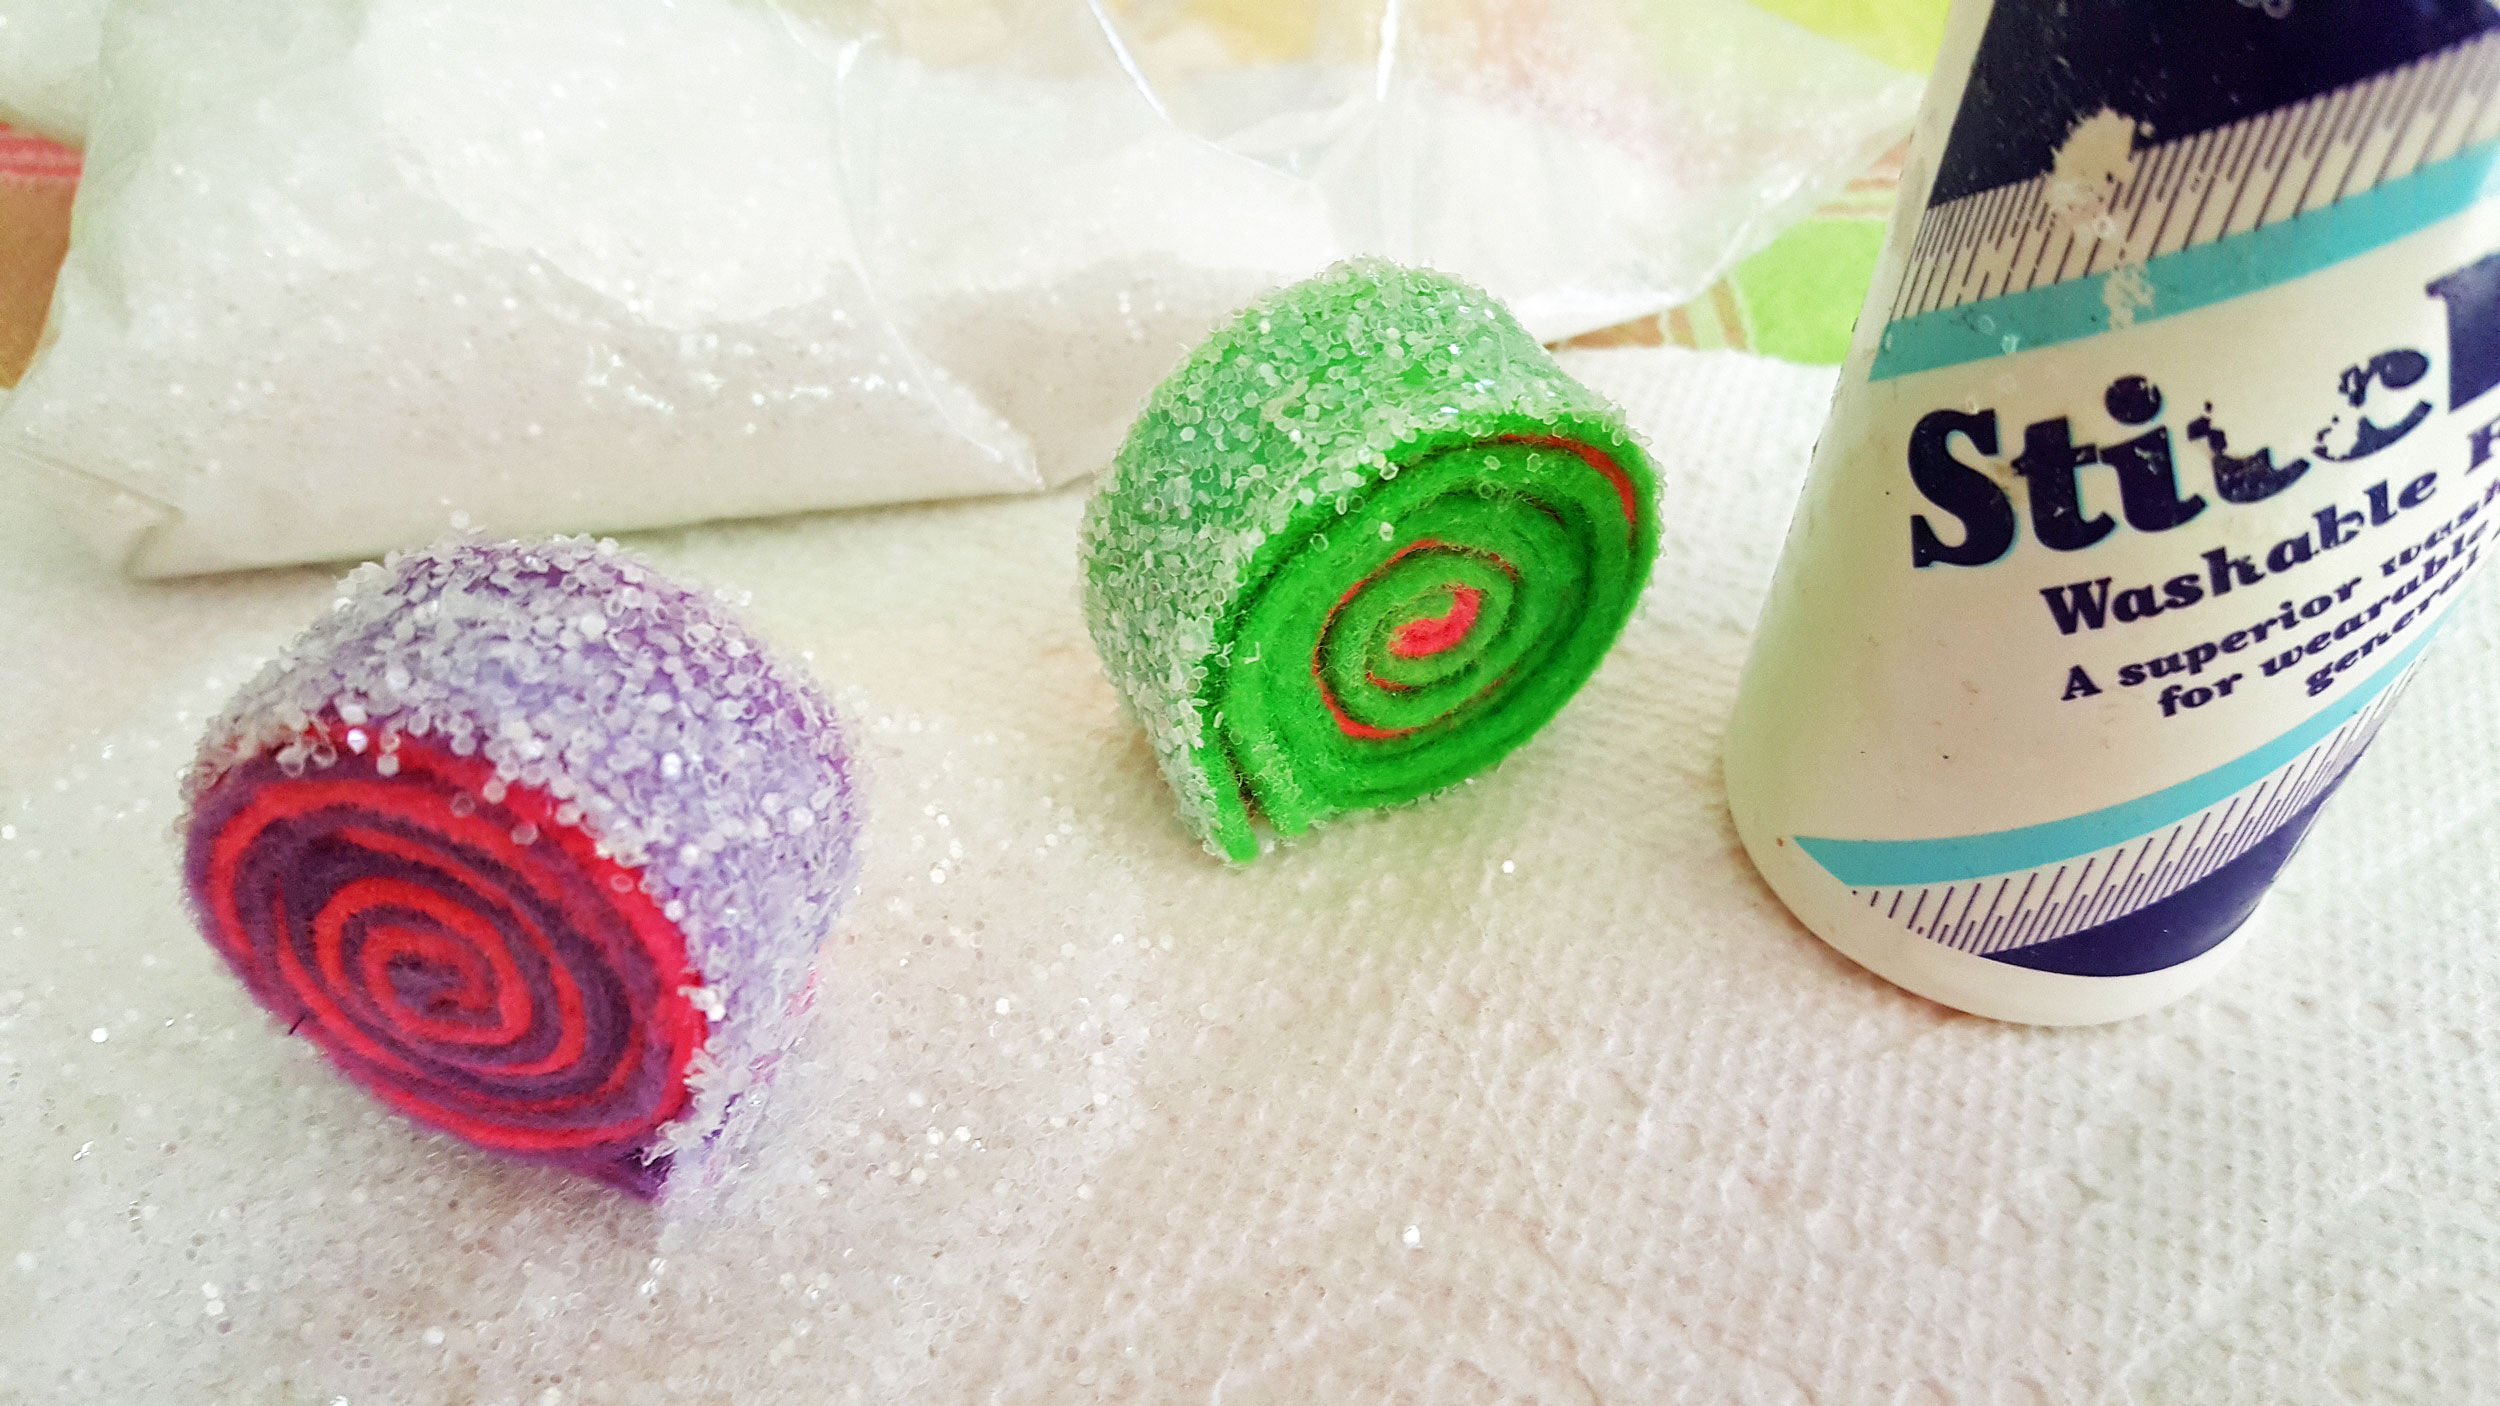
Step 5: While the paint is drying, coat the outer roll of the lollipop with fabric glue and roll the lollipops in the glitter to add a bit sparkle and make it look like sugar.
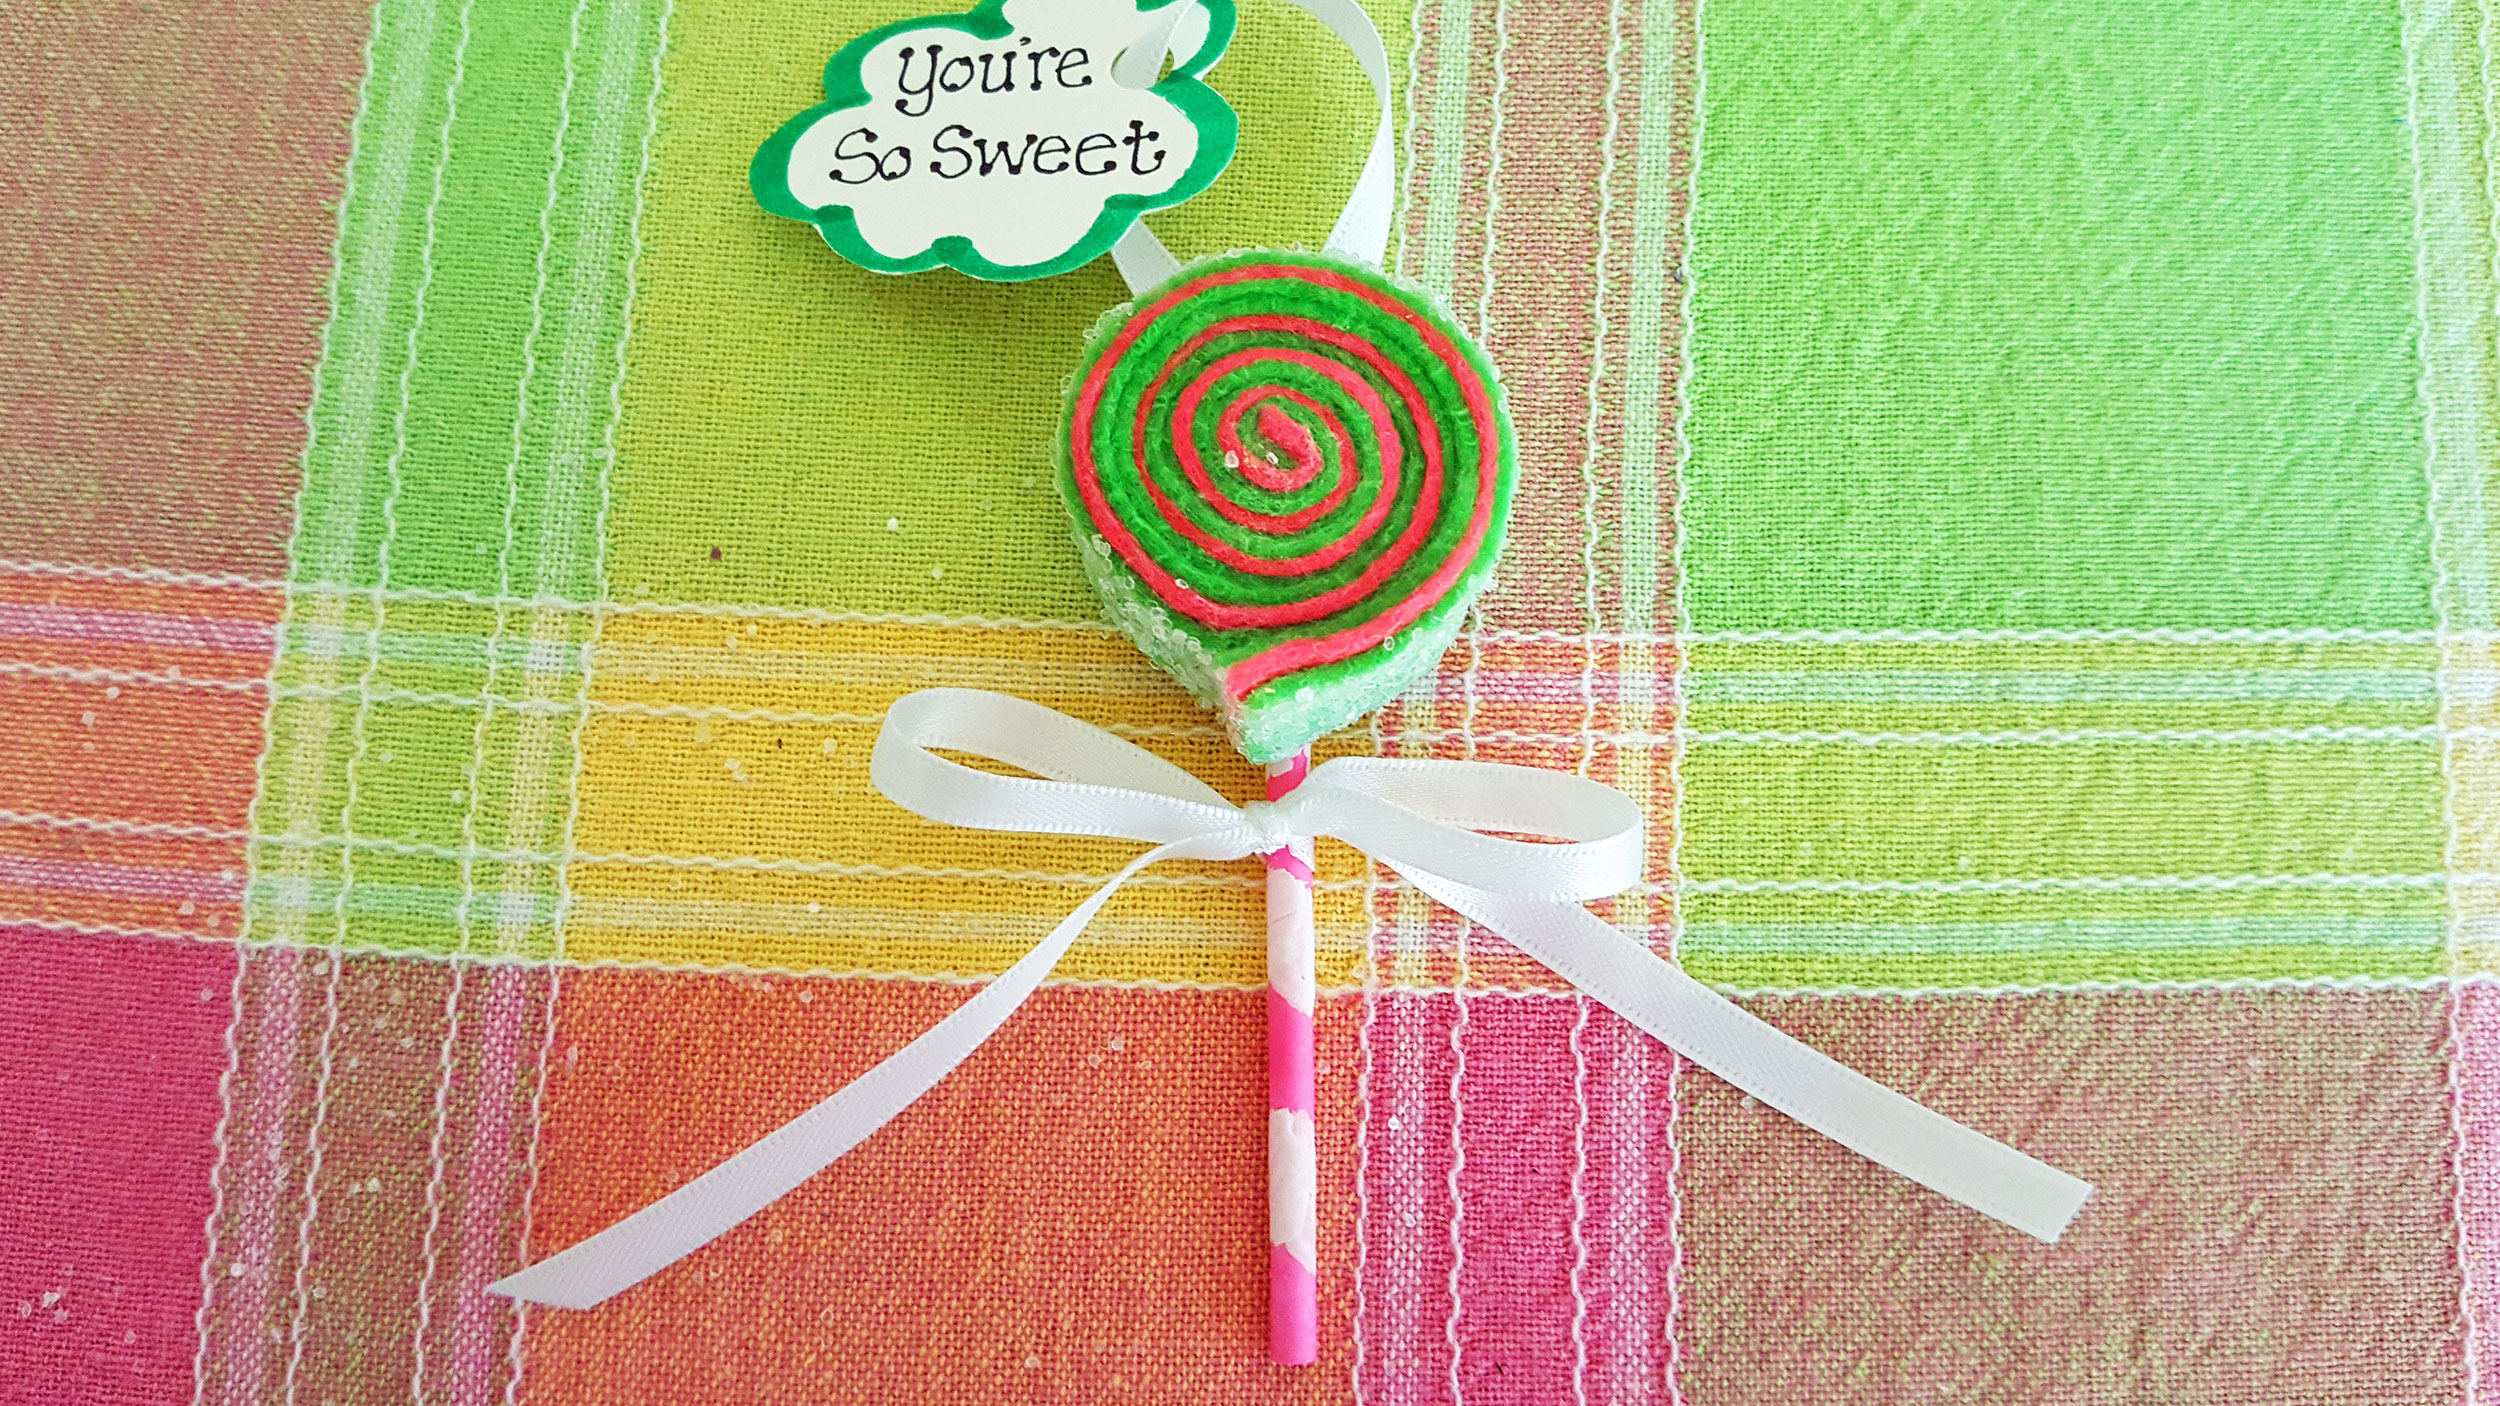
Step 6: Tie a ribbon to the stick and glue the stick to the back of the felt lollipop. Then glue a ribbon or tie thread through the felt to make them into felt ornaments that can hang. Let it dry and make sure the glue keeps the items secure. You will need to be generous with the glue to make sure that your felt ornaments stay intact.
That’s it! If you want to make your felt ornaments into cute package toppers, simply add a personalized tag and tie it to your lollipop or add it to the ribbon ornament holder prior to gluing it on the back as we did. Makes a sweet gift for a friend, birthday party, themed party, sweet table or as a present for anyone who could use a little sugar in their life. Lollipop felt ornaments are guaranteed to make you smile!
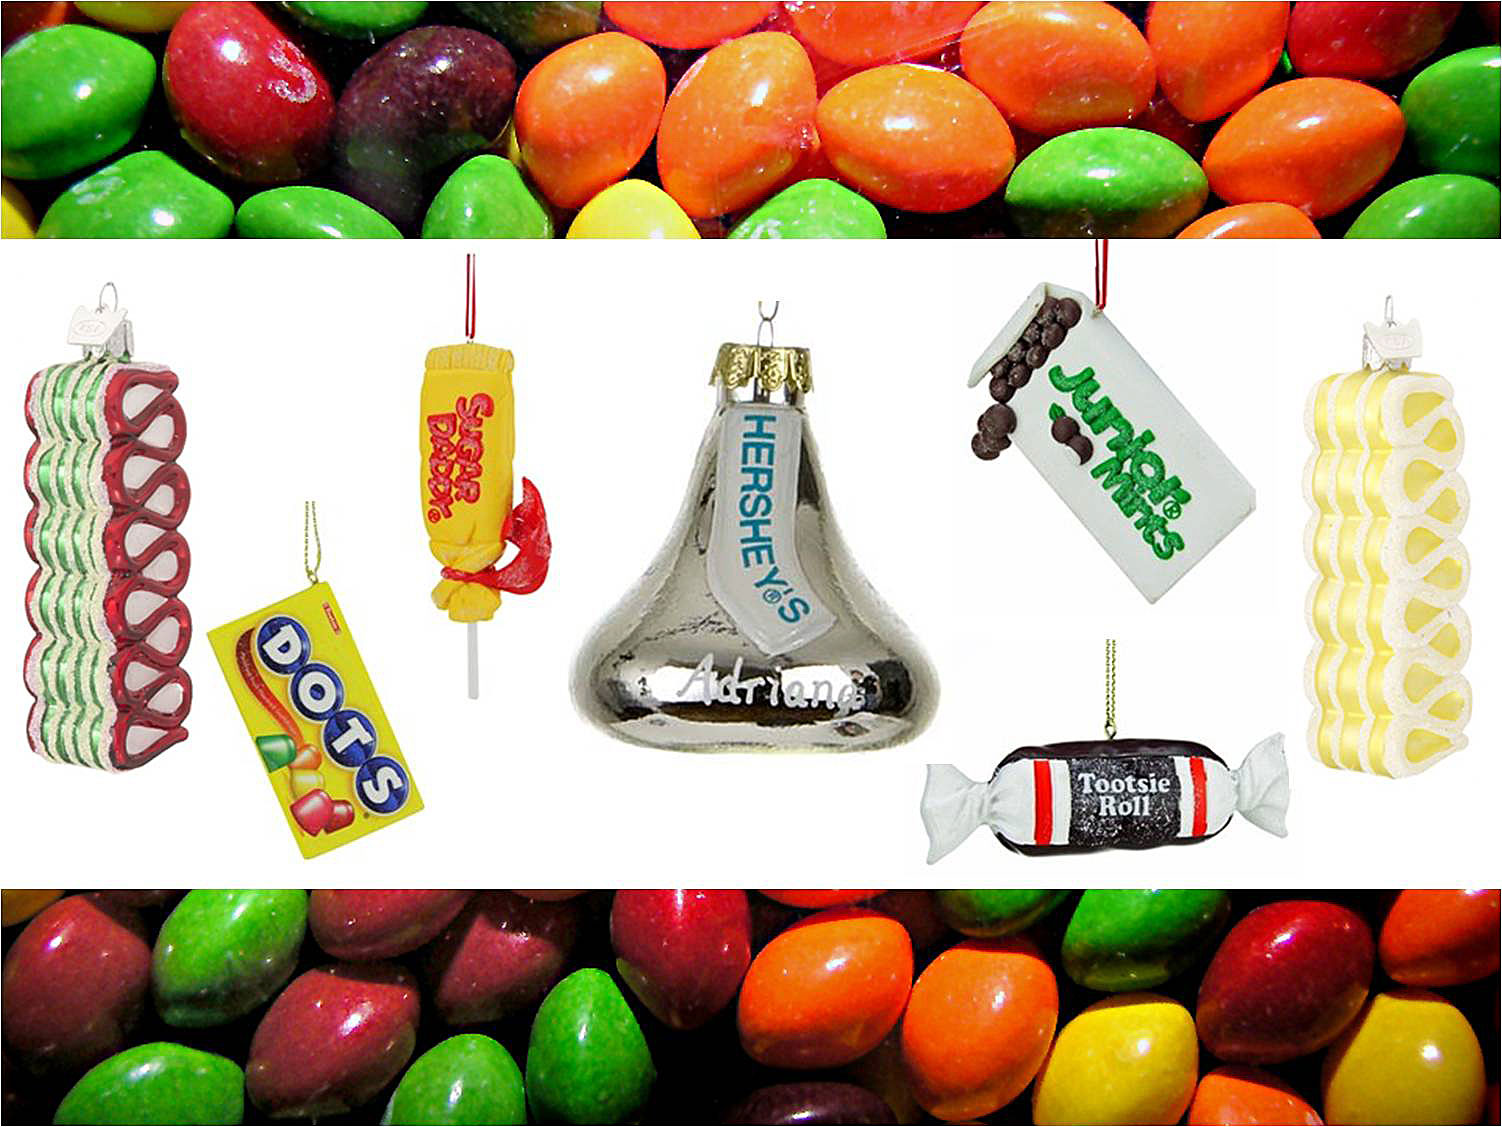
Love the idea but don’t have time for felt ornaments crafts? Check out our Personalized Candy Ornaments that look good enough to eat! They make sweet gifts or delectable package toppers for any gift giving occasion.
CAN(DIY)